Tuesday, November 11, 2014

Fisherman Inspired Chum Pot Lighting


Is it only Tuesday? Monday was so long it felt like two days.

This is a project that I posted on G+ a while ago and I felt needed to be out on my blog. This is truly a nautical inspired piece.

I picked up a few chum pots while yard saling , so not a word, out in Montauk, NY. They looked perfect for a real industrial looking light fixture.


For months I had been trying to figure out how I was going to turn this into a pendant light over my Mosaic Starfish table.

I was browsing ideas in the Lowe's lighting dept and found this three dangle fixture that would allow me to customize the pendants of the dangles
.Portfolio 3-Light Bronze Mix and Match Mini Pendant Light 

I had the chum pots cut so the fixture would screw into the tops of the fixture.
I had one glitch....I only had two chum pots and for a weeks I hadn't been able to find a third.
Luckily , Lowe's had a cylindrical pendant. I painted the wicker pendant with a grey primer to match the chum pots.
 Portfolio 9-in H x 6-in W Wicker Fabric Mix and Match Mini Pendant Light Shade
Afterwards, I hot glued some rope around each of the dangles.


Everyone who visits enjoys this piece , especially our fishermen friends.


Monday, November 10, 2014

Driftwood Doors Faux Finish

Wishing I had doors made of driftwood was the incentive for this project. Originally done 15 yrs ago and recreated here on these dbl doors. I had so many project after Hurricane Sandy. I can't be sad for my losses because she helped me remember my creative side and inspired this blog.

Driftwood doors from 15 yrs ago

Using a bristle brush ,I stained my doors with Dark Walnut  MinWax

 After my staining was completed I use a 1/2 and 1/2 mix of flat white paint and glaze. Mix these together real well and brush on and wipe off with old rags.
Graphics Fairy has these vintage fish prints that I printed out in the decal/waterslide paper method described in their blog. I think I should have used the freezer paper method which I have not yet tried. These images are a bit thick and show around the edges. But for the purpose of this blog you can get the idea.

These are the doors from 15 yrs ago. These were done in the same way except that I used more paint to glaze ratio. I recommend testing the glaze to paint ratio before you mix it all up for your project. Sometimes I get so excited to work on a project I forget the little steps. Either way you will get a very weathered look. 

.
The older doors had a coat of  clear satin finish painted on to protect them but the new ones with the fish prints had a coat of clear Annie Sloan's wax.

All my beach buddies agreed that these looked like driftwood and they have always been a treasured focal piece in my home.

Here's helping you bring the driftwood effect into your home.

Michele

Sunday, November 9, 2014

Mosaic Starfish Table

I was inspired to learn mosaic art art over 20 years ago from Jackie Stack Lagakos  when she gave me some tips for some basic mosaic work. You should visit Jackie's site  http://www.bottlestructures.com/ and see the amazing bottle structures and mosaic art she has created and taught over the years. 
After Hurricane Sandy came through ,I was left to recreate many of the furniture  pieces I had created over the years, that were now gone. I had a clean palette to start creating again.  
Below is  a dark wood table that had  a glass insert. I did not like the table and always knew it was ripe to remove the glass and use for a  mosaic.
 Table with 1/8" Luan board set into table where the glass had once been.I adhered the luan board with Liquid Nail that dried overnight.
As always, I had a beach  inspired idea on my mind. I wanted a starfish that had washed upon the shoreline . I had a Starfish hook in my bathroom that I had copied and enlarged at Staples in three sizes( At this pt I wasn't sure what size was going to give me the look I had in mind.) I traced them on cardboard and created a template that I then traced onto the luan board. 
Now I was ready for phase one of the mosaic. 
Taking my hammer to the back of my tiles I cracked up my tile and using clear caulk I glued the pieces into the starfish shape I had traced onto the luan board. 
To make this easy I used the caulking gun and would caulk out a big mound onto a paper plate and using a plastic knife I would add the caulk to the back of each piece and secure it in place. You will get to a point where you can't fit all the cracked pieces into place and you'll need to hand cut these pieces for a better fit. You'll need a hand nipper to do this and it's quite easy . I bought my hand tile nippers at Lowe's. They are a great $20.00 investment. Make sure you are wearing safety goggles when nipping tiles and smashing tiles with a hammer. 
When I mosaic I use a wide grout line. 

With a sponge I  grouted  a white sanded  grout mix that I had picked up from  from Lowe's and filled in my tiled starfish. 

Next step , add the sand part of the mosaic tiles and  grouted with a grey grout this time.


All of the tile used in this piece was bought at Lowe's . I mixed in tumbled stone and marble tile along with glass tile.


After the grout is dried I used a grout sealer to protect the grout because I don't use a glass topper on this finished table. Not a glass person.
I used chalk paint and waxes to finish the table and chairs. 
That is a small collection of driftwood in a stone vase with a paper  umbrella.   Gorgeous centerpiece  for a  beach wedding or a beach house.


Note :When I chose the 2 different colored grouts they looked different enough to created the look I was trying to achieve , in my mind.....however, it is not apparent that there are two different colored grouts here and I think I would have made the "Sand Section" of the project darker by using a darker grey grout.


Thanks for reading about my projects. I enjoy being creative and I hope I inspire you to explore your creative side.

Michele Michael
Coastal Bohemian 

I participate in Link Parties all week and you can find me here partying!


Friday, November 7, 2014

Furniture repair trick -Barley and Brown Rice. What?

I was gifted two old pieces of furniture after I helped a client find a new location for  her new antique shop.(Oh yeah ,I have another life as a commercial real estate agent in NY and SC.)(Not anymore, I own a craft studio in Myrtle Beach...you never know what the future holds.)The pieces were dark wood ,and not my thing. I knew I was looking for exactly this type of piece to paint and what do you know...I manifested them.
I had a chalk paint idea for these pieces. Only one of these pieces will be shown here in this post.

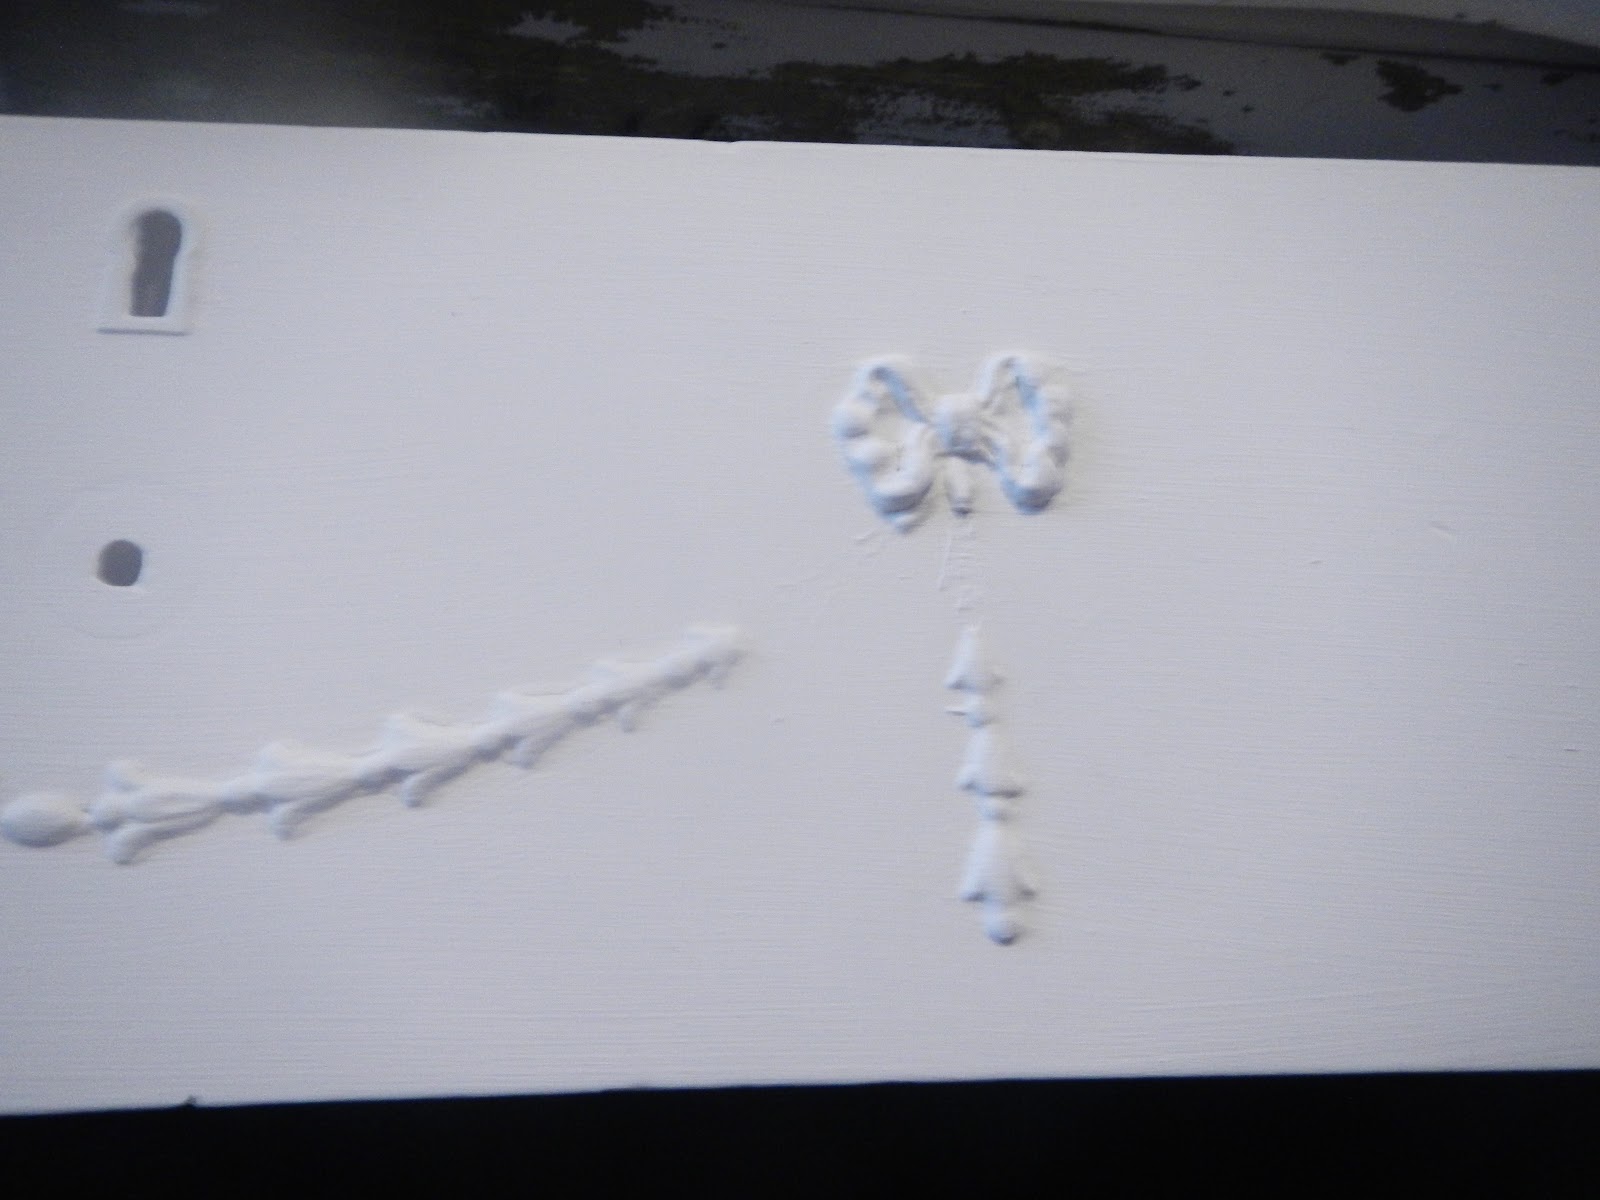
I couldn't get to a happy place knowing that the detail on this piece was broken and missing. I didn't have time to scour the internet for replacement style wooden decorative trim.What could I use to make this trim appear solid and beautiful again?
..


Barley and Rice was the answer.C R A Z Y right? No, it did the job and has held up lovely.


 After my initial coat of white chalk paint ,I used Elmer's Carpenter's Wood Glue and gently applied the barley and rice to mimic the original trim.


I let that dry for a day. Afterwards I continued on with my aqua chalk paint , then my  clear wax and then a coat of  dark wax, of course using my favorite brush.(Love, love love this brush)

Here it is....
 I forgot to tell you that the barley and rice even had held up to my palm sander and held up perfectly.Thank you Elmer's Carpenter's Wood Glue 

                                                   
                            I hope you find this trick helpful.


Michele Michael

It's 3 years later and the barley and rice have held up .


As a form of online networking, I participate in link parties daily. It's actually thrilling for me to learn about all these different bloggers and often times I am inspired by them in my own life and business. It's been a gift for me to participate. 

Thursday, November 6, 2014

Upcycled Ocean Themed Laundry Center

Upcycled ironing board/laundry center.
I was about to add this to the trash heap and thought...let me try and give this broken ironing board a second life.
At the same time I was looking for a slim lined laundry center for the beach condo.
1 can primer and 1 can of spray paint($5) +1 funky wire basket($10)from Tuesday Morning + 1 brass planter at Good Will ($3). I also added the vintage wooden barrel from an antique shop ($25)  draped with a fishing net I had around the house and I had a as a laundry hamper.

Added a starfish topper and a crab printable
from https://www.facebook.com/TheGraphicsFairy  that was printed on waterslide decal paper right on my home printer. I learned how to use decal paper at the Graphic Fairy site with a link to http://thepolkadotcloset.blogspot.com/2011/03/using-water-slide-decals.html


You could arrange this in such a way to include hooks for drying delicates.
Very Coastal Very Bohemian.

Love my new laundry center and love doing my laundry.

Off to do more laundry.

Michele Michael 


Wednesday, November 5, 2014

Chest So Beautiful with Long Sexy Legs Baby

What ? Not expecting a weathered old wooden chest ? I'm testing blog post titles to see activity. If I get good hits you can expect my diy posts to be more provocative in talking about painting and repairs.
Now onto my chest. My treasure chest. 
Once I got that upcycling bug in me, nothing has been safe . Dare I admit I verge on hording if I don't watch myself.  The cure for that is to make sure I am continuing to push out new ideas to you all.

I've had this wooden chest for many years and have lovingly kept maps and brochures from the places I have traveled or intend to travel. This survived Hurricane Sandy and I wonder if the fact that 18" of water coming  into my house is the reason raising this chest off the ground appeals to me.

Supplies -1 old wooden treasure chest
              - 4 legs - I found these for $7.00 at Habitat for Humanity and cut them down to a size that                    worked for my project( these were actually spindles for a railing ). You can always have                      these cut down to the perfect size at a local lumber yard. My lumber yard will cut these for                  $1.00.
              - 4 metal "L" brackets and the 8 screws that coordinate for installation Ask your local 
              Lowe's employee for help with finding the right size " L " brackets for your project.


Trace the spindle top right onto the bottom of the wood chest, secure the L brackets and put a little padding on those feet.
Bippity Boppity BOO! 
                                                      Beautiful Chest with Long Sexy Legs

                                    
Decorate the closure with something beachy or nautical.
                      Love this vintage fish I have had it for years swimming around the house.


       Off to the garage to clean out for my next project.
   

           Send me some of your pictures of your treasure chest creations and I'll be happy to share it here .

                           Thanks for reading.

                            Michele Michael

Find me partying here all week at these link parties with some great bloggers.

If you are in Myrtle Beach come on down and visit us at the Coastal Bohemian Studio or check us out on Facebook, Pinterest , Instagram, or  G+ .
01 09 10