

Coastal Bohemian a community for diy, decor, ideas, new & vintage gifts, furniture, fishing, nautical & all things that make your coastal life....living. We believe salt water runs through our veins. We believe shabby is beach chic, beach perfect, weathered, windblown, worn in, seasoned (preferably with a little sea salt) and distinctive. We believe we help you tell your beach story. We love that we help.
Thursday, December 30, 2021
Monday, December 27, 2021
Snowballs in a Jar
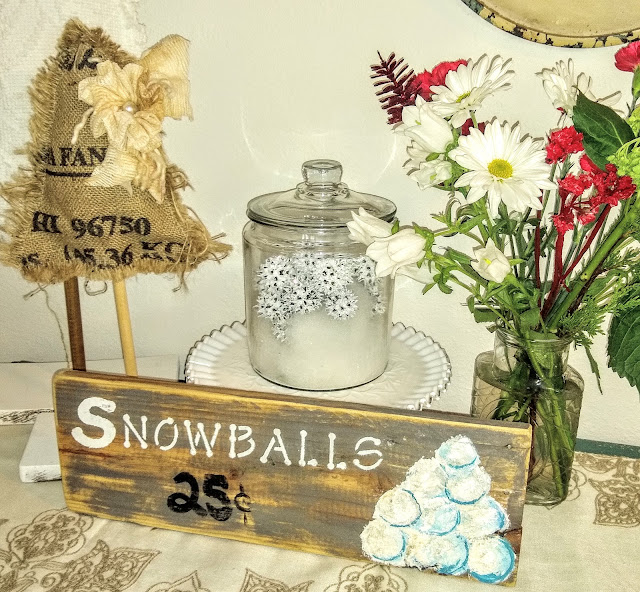
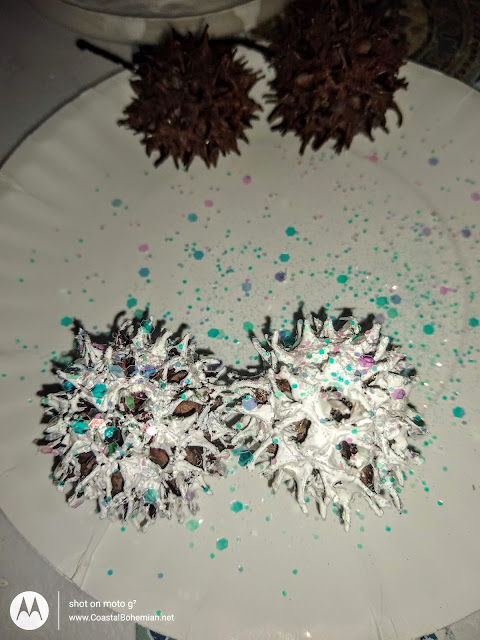
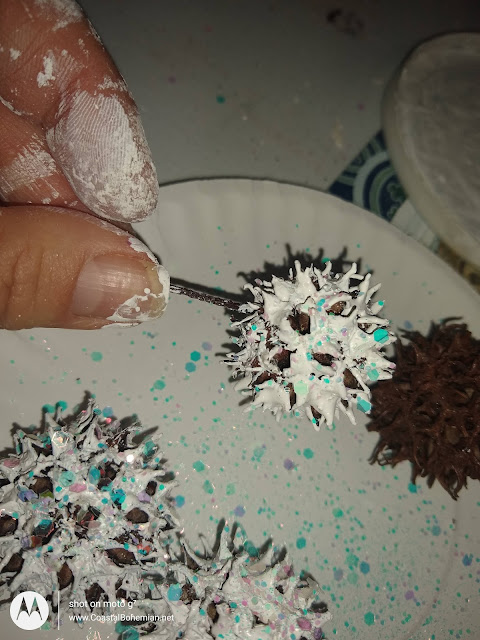
Clearly these are not real snowballs. Had they been real snowballs, back in my day, I would have won the snowball fights, hands down, with my secret weapon prickly balls. Lol. These are sweet gum pods/cones/seeds. I always love the way they look and this last summer I grabbed up a bag from my in-law's home.
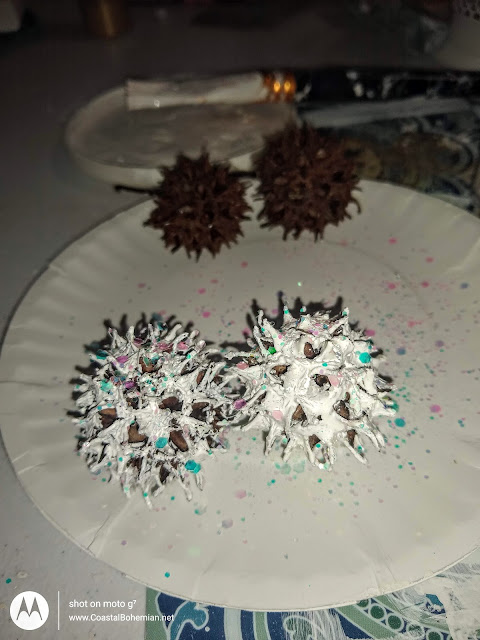
They were sitting on my table as I was painting something and I grabbed a few and started painting them white. Then I sprinkled with sparkles and bam I saw a snowball. What could I do with it now? A banner or a string of balls? Yes. And then I walked into the other room and saw on display my snowball sign, that I had painted several years back.
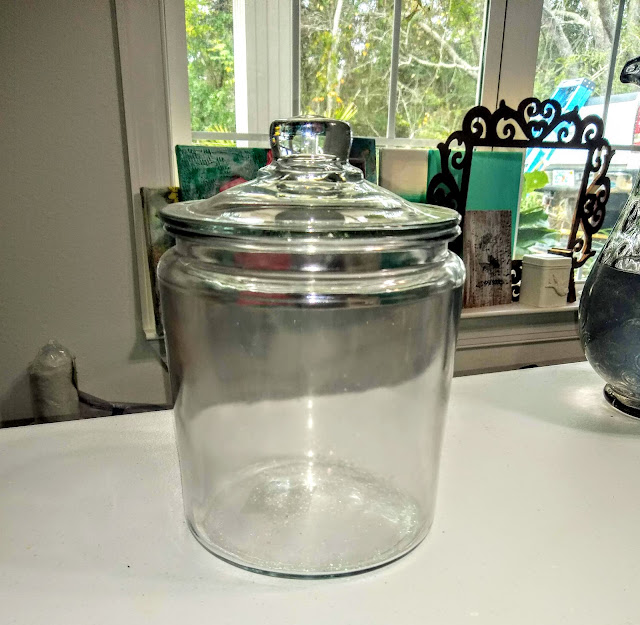
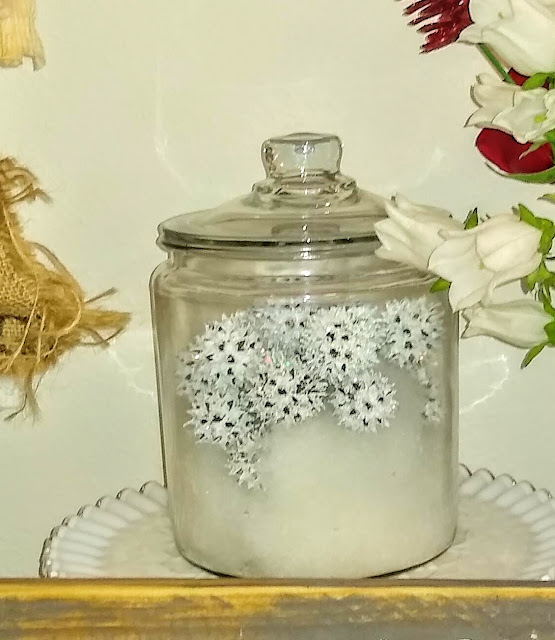
I could gather up the balls into a pile for a display and set it next to the sign. Or even better what about a vintage style candy jar where you could reach in for your snowball? Yep
The snowballs set inside this jar were lackluster until I added a bit of white fiber fill aka snow.
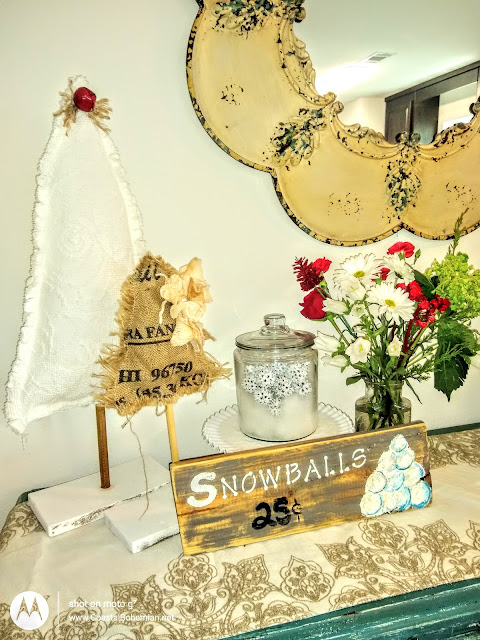
I think this was an adorable way to showcase these little balls. Now I'll start those snowball strings.
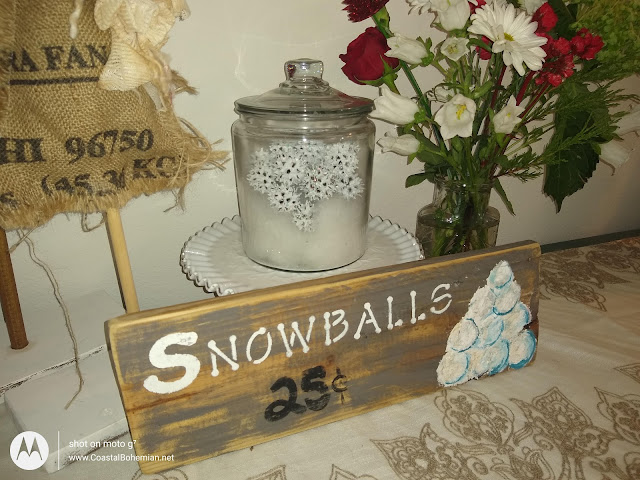
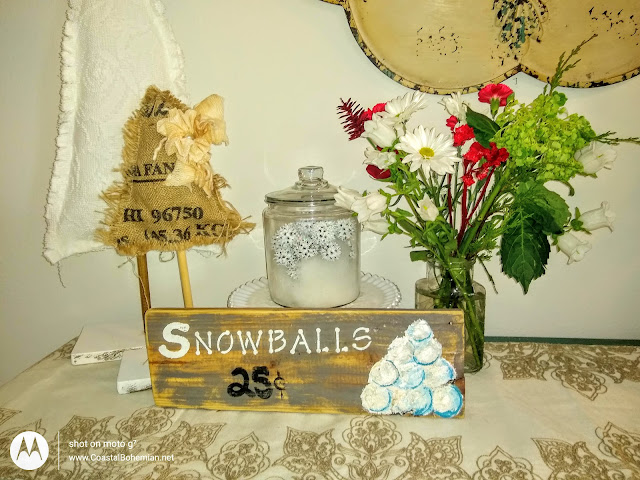

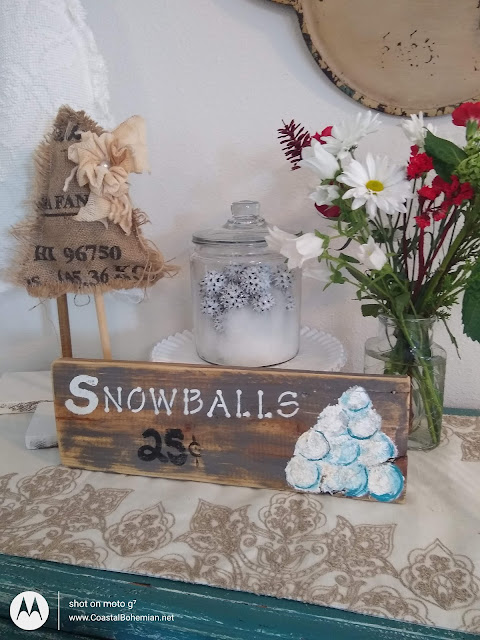
Happy New Year and DO NOT THINK OF THROWING THESE IN YOUR SNOWBALL FIGHT!
With love and gratitude,
Michele

Find me partying here all week, at these link parties, with some great bloggers.
Follow us out on Facebook, Pinterest , Instagram, Linkedin, or Bloglovin .
Sunday, December 26, 2021
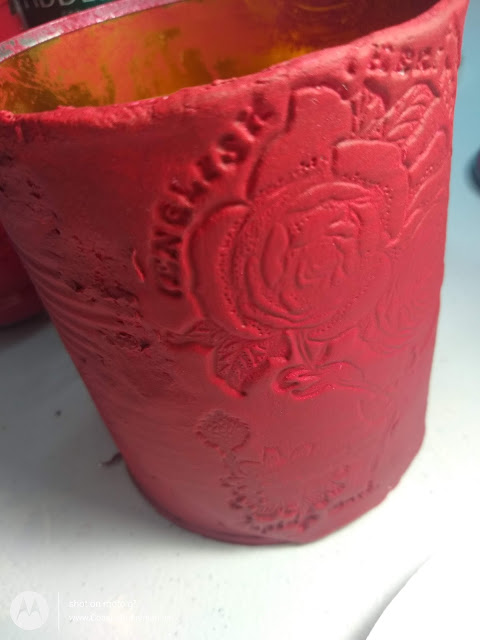
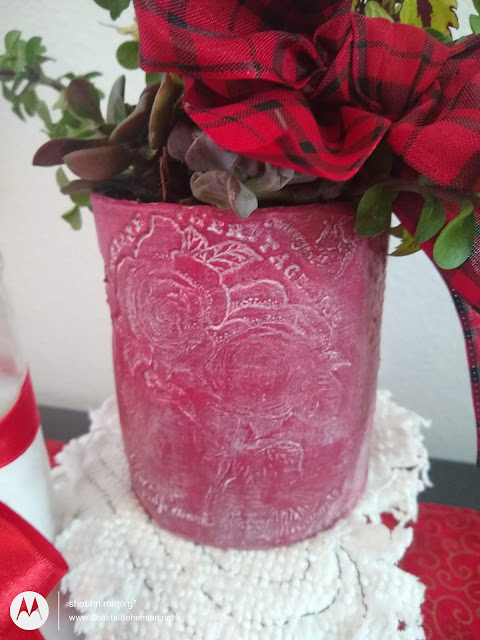
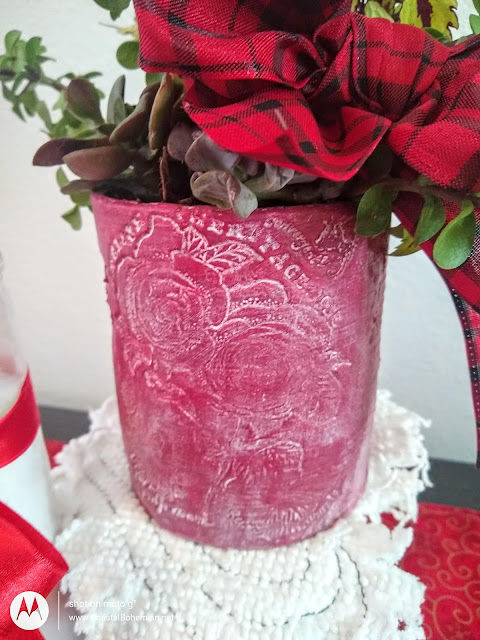
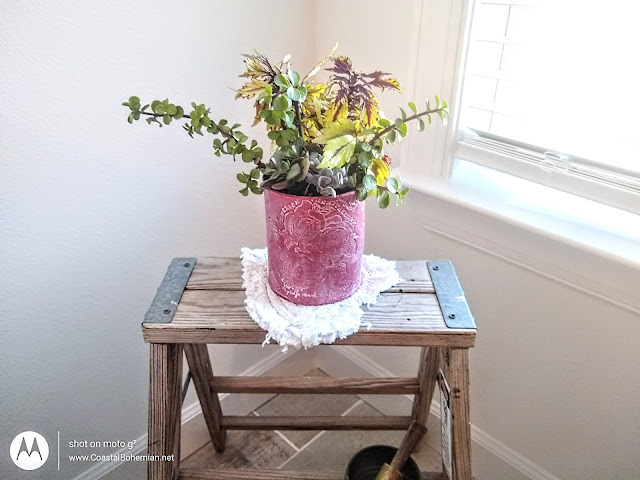
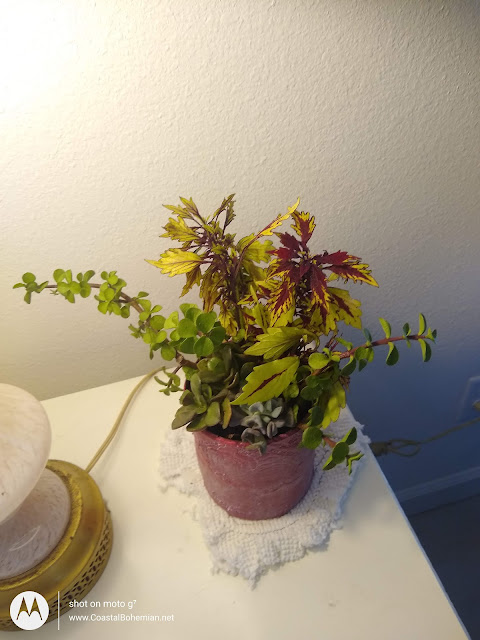
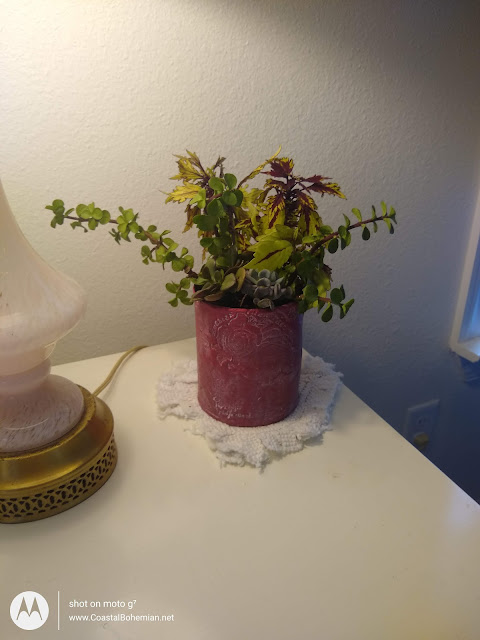
Tin Can Art Planter #clay #airdryclay #stamping #stampedclay #coastalbohemian #artsandcrafts #chalkpaint

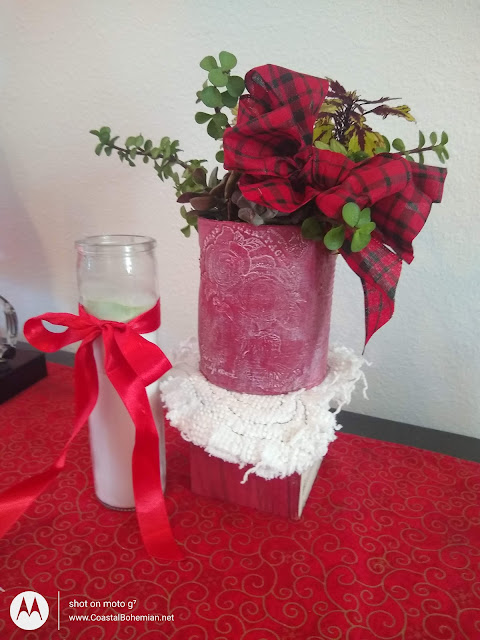
I was thinking about designs for Valentine's Day when I created this planter. I knew I wanted to embellish the can with stamped clay and I knew I wanted to use this beautiful red paint.
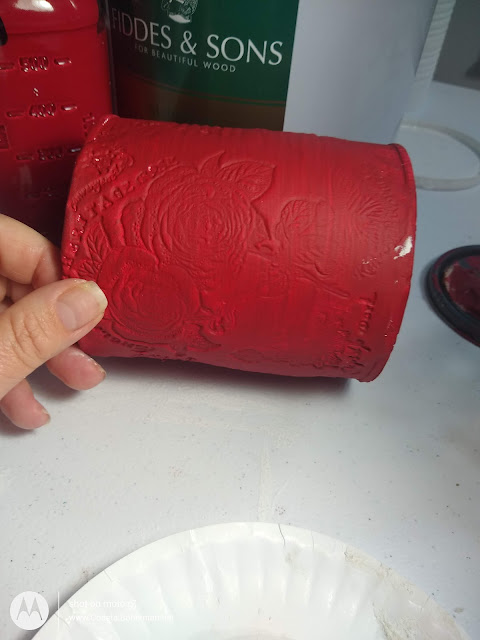
I started by rolling out a bit of air dry paper clay. Next, I chose a decorative stamp to create the impression.

I used wood glue to adhere the clay to the can and pressed out the edges.


It took 2 coats of red chalk paint to get full coverage.
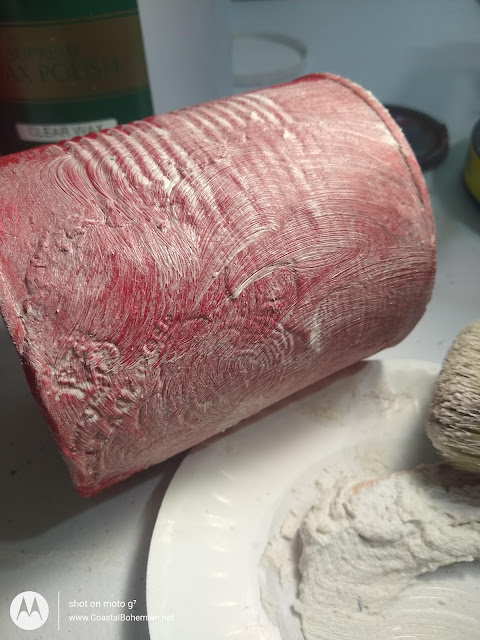
Even though I loved this red, I felt like it needed something to highlight the floral impression in the clay. I decided to mix up a batch of white wax.
I used approximately a rounded tablespoon of clear wax with 1/2 tsp of white chalk paint. This gets applied with a brush. As soon as it's applied I use a scrap of an old sheet to remove the excess wax and then I buff.
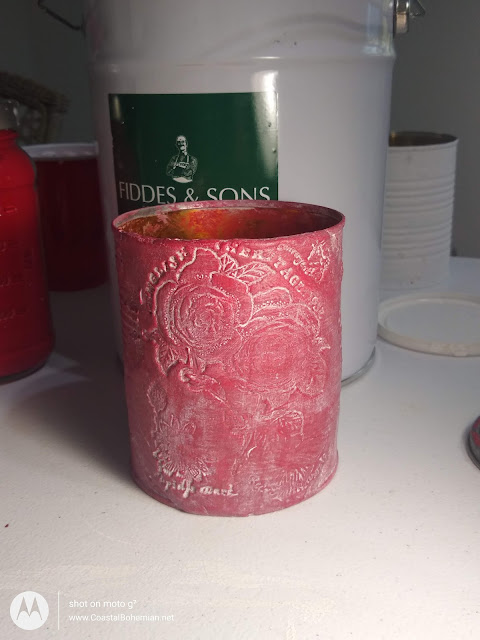
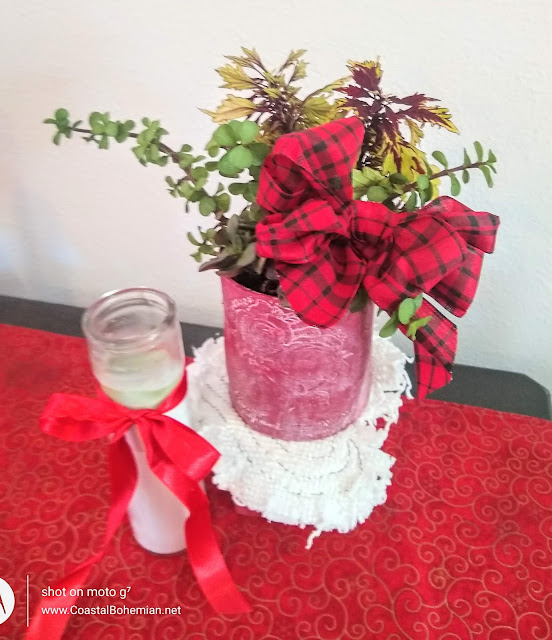
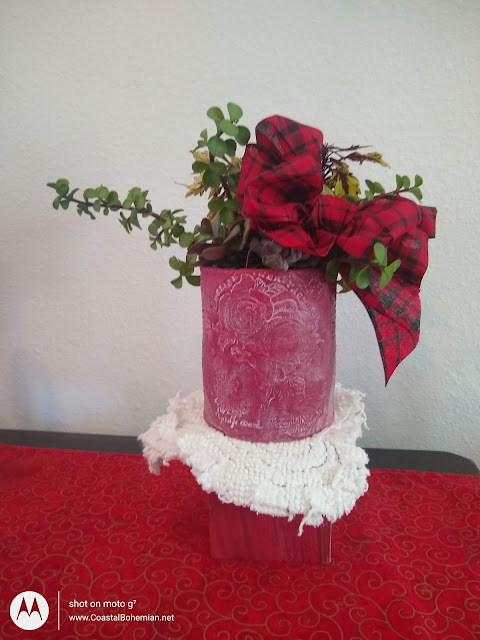
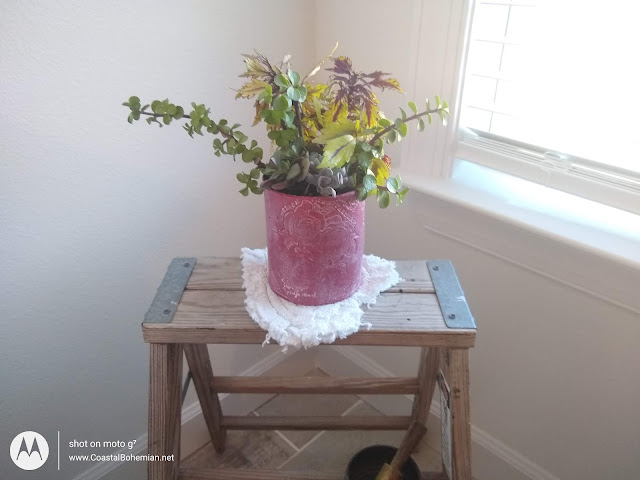
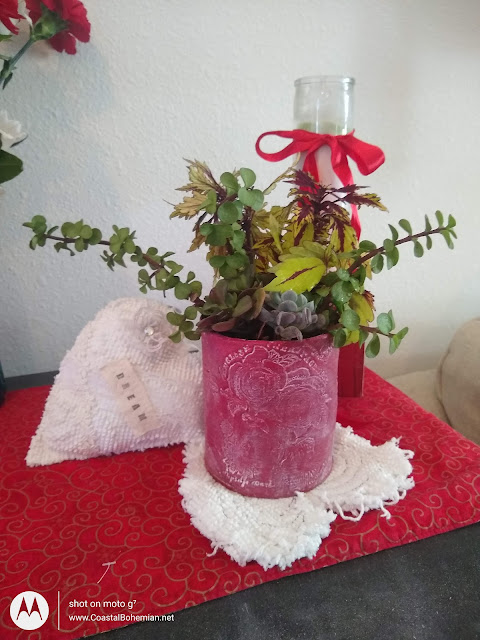
I did give this one as a Christmas gift, to a friend that really loves red.
With love and gratitude,
Michele
Find me partying here all week, at these link parties, with some great bloggers.
Follow us out on Facebook, Pinterest , Instagram, Linkedin, or Bloglovin .
Thursday, December 23, 2021
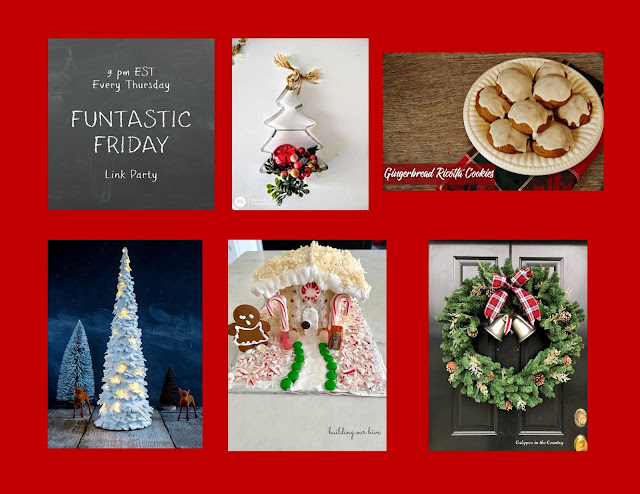
Funtastic Friday #364
Happy Joyful Christmas to you all that celebrate. Let's enjoy some fun holiday posts, maybe even find some last minute inspiration.


Please follow us on Social Media!
Here are our Features from last week:
MOST VIEWED

MICHELE'S PICK
HEIDI'S PICK

Gingerbread Ricotta Cookies by Mrs Kringles Kitchen
ANGELA'S PICK
Cookie Cutter Christmas Decor by Coastal Bohemian

DONNA'S PICK
Decorating with Wreaths for Christmas by Calypso in the Country
🎄
CONGRATUALTIONS TO THOSE WHO WERE FEATURED! GRAB A BUTTON BELOW!

FUNTASTIC FRIDAY LINK PARTY RULES:
. Post up to 4 links.
2. Family-friendly posts only.
3. Old posts are also welcome.
4. Comment on at least one post at the party.
5. Follow the hosts on as many platforms as you can.
We are your online friends. Let's interact, comment, and enjoy one another while supporting each other.
THANKS FOR STOPPING BY!
With love and gratitude,
Michele
Find me partying here all week, at these link parties, with some great bloggers.
Follow along on Facebook, Pinterest , Instagram, Linkedin, and Bloglovin .
Tuesday, December 21, 2021
Upcycled Vintage Silver Coffee Cup w Hot Cocoa Spoons

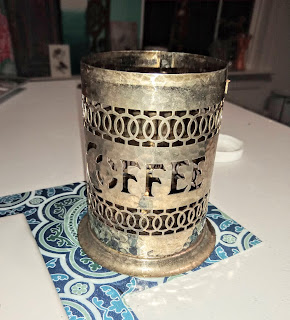
I picked up this vintage silver/silver plated ?? coffee mug at a thrift store for 50 cents. It had a little piece of metal on the side where I believe it had a handle. I'm pretty sure these mugs had glass inserts that held coffee.
As soon as I saw it I thought it would look cute next to the coffee pot with some tea spoons or some chocolate spoons.
I love to chalk paint silver pieces. It's always quick work to make these pieces coordinate wherever you need.
It's a quick paint, some sanding and then I use a coat of clear wax, the same wax I use for my furniture. And of course a good buff to set the paint.
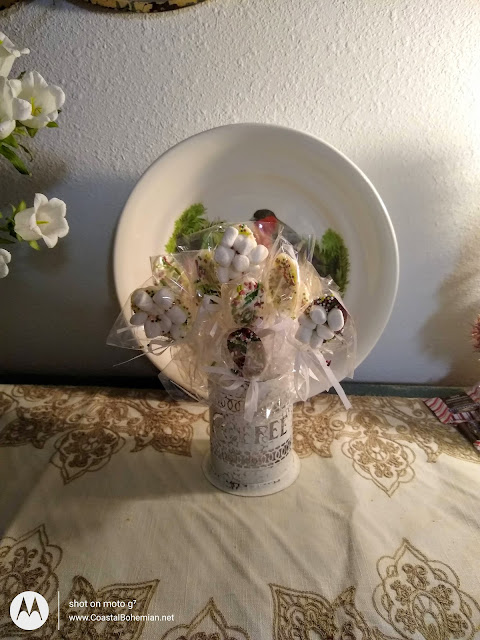
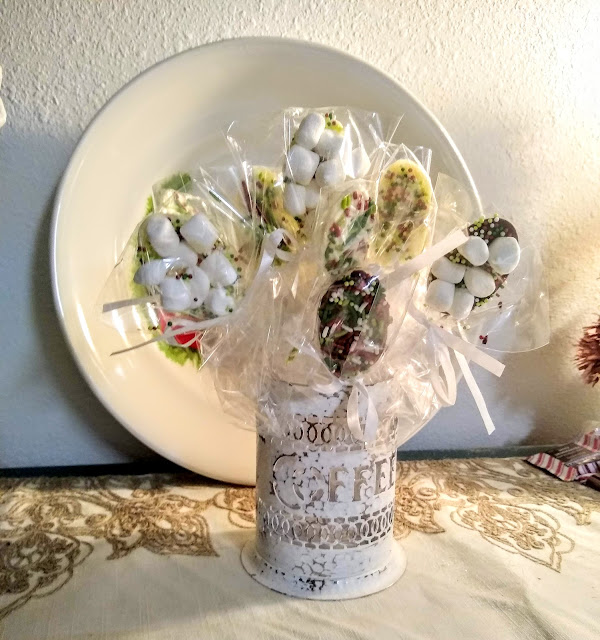
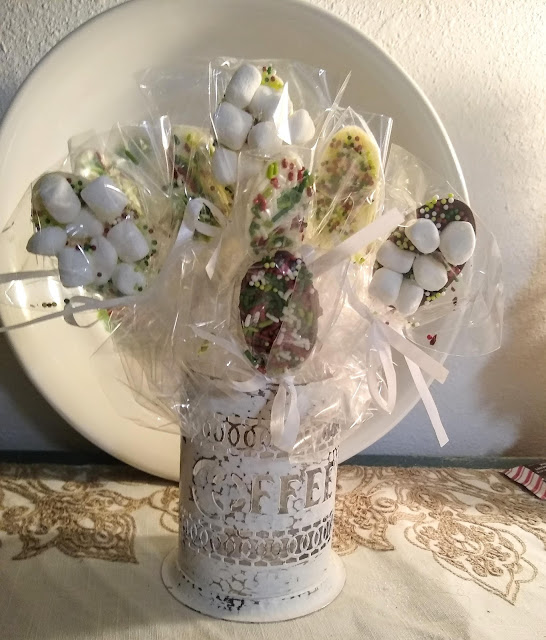
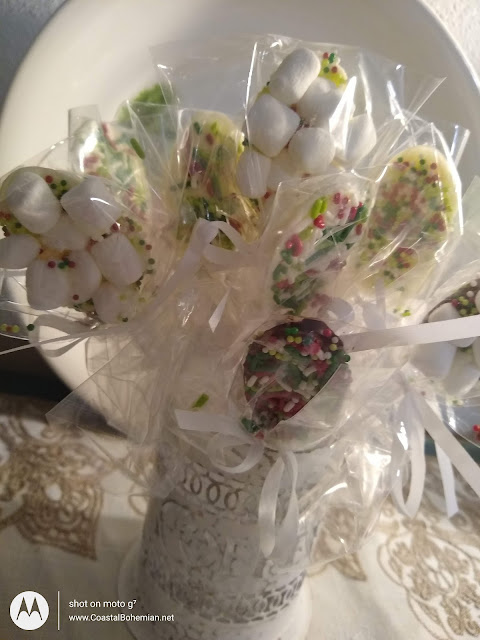
I made the white chocolate and dark chocolate spoons and embellished them with mini marshmallows and red, white and green sprinkles.
Great for coffee or hot cocoa. My husband couldn't wait to get a hot cocoa and a marshmallow chocolate spoon. He was like a little boy with his spoon and said, "This is the best hot cocoa I have ever had."
It's all very festive and the perfect way to upcycle this little lost vessel. Suddenly it's the star! A perfect upcycle.
With love and gratitude,
Michele
Find me partying here all week, at these link parties, with some great bloggers.
Follow us out on Facebook, Pinterest , Instagram, Linkedin, or Bloglovin .
Subscribe to:
Posts (Atom)