Wednesday, October 31, 2018

Artist Trading Swap

Artist Trading Card Swap


 I decided to have an artist trading card swap down at the studio.

This was our first official swap.

Here's what the Facebook event stated.


Send three artist trading cards to Coastal Bohemian and receive three different artist trading cards back in the mail. 
1. Make 3 artist trading cards with a Fall theme
2. On the back include your name, email and date and signature.
3. Mail the 3 cards along with a self addressed stamped envelope to Coastal Bohemian 4811 Hwy 17 Bypass , Suite 4, Myrtle Beach , SC 29577
Mail in enough time to be received at the studio by October 17th. 

Within a few days we will have your cards swapped for 3 other cards and sent back out to you. 


Only cards that are received by Oct 17th , 2018 will be included in the swap. 


All in all we had 8 people participate. We had cards come in from California and Arkansas. It was like the old fashioned pen pal days. Lots of fun to see the themes that reminded people of Fall.

We plan to host the event again in January so please let me know if you would like to participate. I'll need to invite you through Facebook.

With love and gratitude,

Michele


Find me partying here all week at these link parties with some great bloggers.

If you are in Myrtle Beach come on down and visit us at the Coastal Bohemian Studio or check us out on Facebook, Pinterest , Instagram, or  G+ .

Sunflowers, I Challenged Myself to Draw and Paint

I was part of an Artist Trading Card Swap in October and for some reason my brain decided I needed a sunflower background. 

I have been pushing myself to draw and paint and experiment more since I am not a trained artist. 
Here's what I did. 
I started with several circles on the background. I just traced around a few cups and covers from the kitchen cupboards.

 Then I started with one circle and added 4 petals equally spaced at 12 o'clock , 3 o'clock, 6 o'clock and 9 o'clock . Then I added petals in between there to fill around the circle. Next I popped a second row of petals on the flower.
 I added a few lines of texture inside the petals.
 I filled in the circle with many, many ,small circles to help create the look of the seeds.
 Next , I used my watercolors to create the look of those multi colored bronze sunflowers that I love so much.
 Pretty.
 I added a brown center.


 In the end, I was so proud of my work that I couldn't bare to cut it up into 2.5" x 3.5" ATC backgrounds so I had a copy printed and use that for my cards.
Here's the 11 x 14 copy. You can see that I added black to the circles and splattered black on the entire sheet.


This personal challenge was a success but I have a bunch of scary stuff I haven't shown you. Some day. 

In the meantime, I plan to draw each week in hopes of eventually drawing beautiful faces , like Jane Daveport.


With love and gratitude,

Michele


Find me partying here all week at these link parties with some great bloggers.

If you are in Myrtle Beach come on down and visit us at the Coastal Bohemian Studio or check us out on Facebook, Pinterest , Instagram, or  G+ .

Friday, October 26, 2018

Funtastic Friday #200

We made it--Funtastic Friday #200!
Wahoo!


Now let's get to this week's hauntingly
good party....

Funtastic-Friday-Poster 600

Meet the Party Hosts


 We’re always looking for bloggers to join us as party hosts. 
If you’re interested, get in touch with me or one of the hosts.
 We’d love it if you followed us on social media.


Most Viewed


Victorian Haunted Doll House from Debbie Dabble Blog

Host Picks

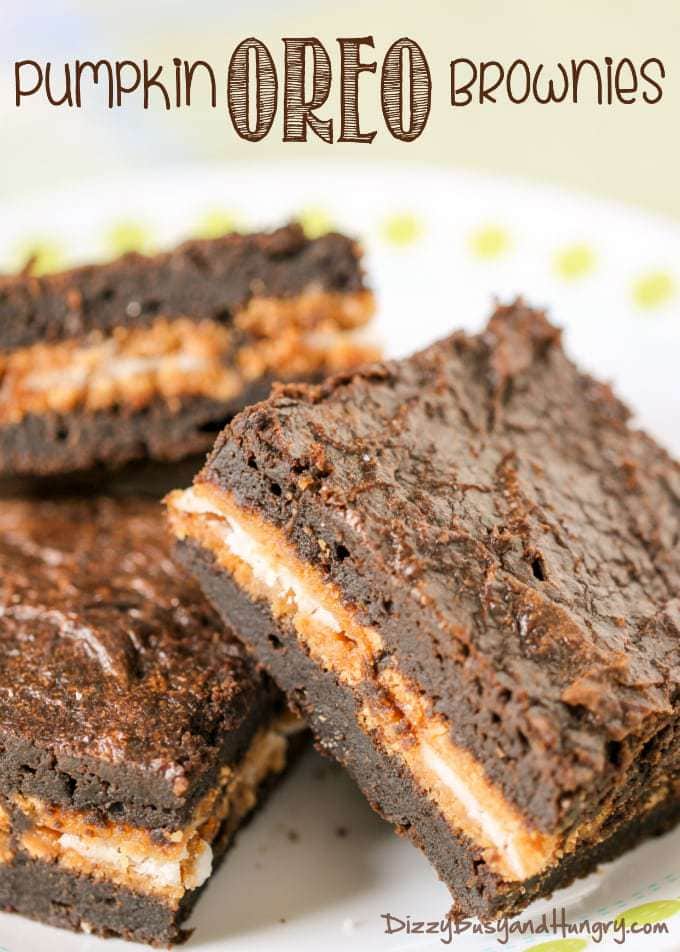
Pumpkin Oreo Brownies | DizzyBusyandHungry.com - Moist, fudgy, sweet, chocolatey, and BETTER FOR YOU brownies. You must try these!Debra's favorite: Pumpkin Oreo Brownies from Dizzy Busy and Hungry


Michele's favorite: Mad Scientist Trunk-or-Treat Car & Printable Big Spooky Jar Labels from Building Our Hive


Heidi's favorite: Easy Skeleton Cookies from Two Chicks and a Mom

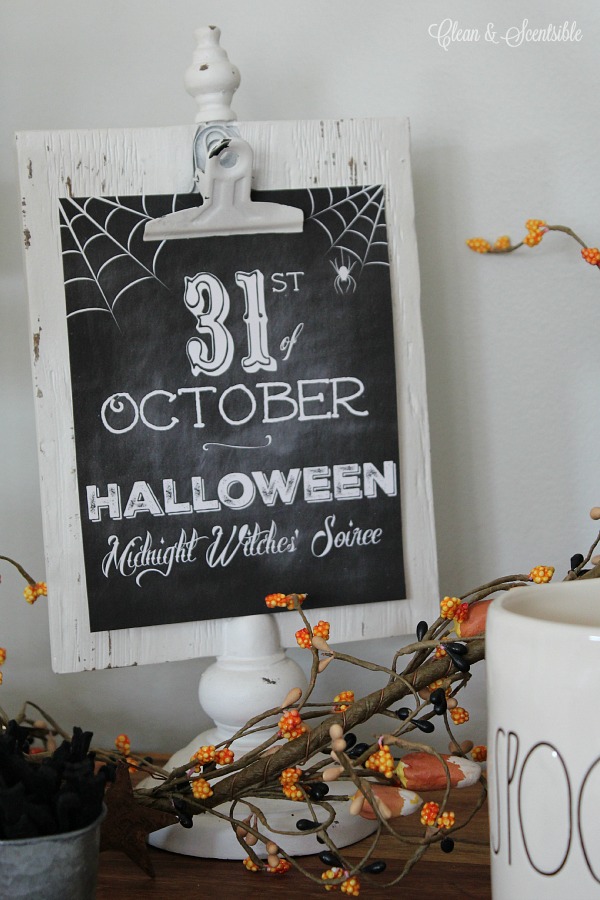
Free chalkboard Halloween printables.  Love these!
Donna's favorite: Chalkboard Halloween Printables from Clean & Scentsible

Shae's favorite: How to Make Paper Tassel Ornaments from Celebrating Everyday Life

If you’re linking up and joining the party, 
please grab a button or link back to "Building Our Hive" or one of the party hosts (copy and paste the code below the button onto your blog text tab or text widget): 

Easy Peasy Pleasy


If you're a featured blogger, please grab a button to place on your blog (right click on image and save image to your computer):


Funtastic Friday Featured Blogger


All contributors who link up to the Funtastic Friday link party can join the Bloggers and follow  party group board on Pinterest. Follow me on Pinterest and leave a comment below that you would like to be added.  We will also share your post on social media if sharing buttons are readily available on your post.

Help grow the Funtastic Friday Link Party.
Tweet about the party, please!

Disclaimer: By submitting a link to this blog link party, you are giving me permission to share and/or feature your blog post and image on social media and on my blog, Building Our Hive. All links shared will either link back to the blog hop (linky party) or to your blog.


Funtastic Friday #200 Link Party Rules


  1. Post as many links as you like
  2. Family friendly posts only
  3. Old posts are welcome
  4. Comments are greatly appreciated


With love and gratitude,

Michele


Find me partying here all week at these link parties with some great bloggers.

If you are in Myrtle Beach come on down and visit us at the Coastal Bohemian Studio or check us out on Facebook, Pinterest , Instagram, or  G+ .

Thursday, October 25, 2018

Brick Paper for Crafting, #Paper Crafting , #MixedMedia , #Card Making #Scrapbooking


I made brick textured paper. It's more like a plastic sheet at this point, but it will be perfect for crafting and creating. 
It's lovely.

I found a set of texture plates at the #DollarTree
I'm using white glue and paper here. This paper happens to be an extra sheet that was a spray dyed vintage book page. Coat the texture sheet with a generous amount of glue. Using a paint brush add the paper on top and begin to push the paper into the glue and the crevices of the texture plate. Be sure and coat the entire top of the sheet with glue as well. 
 I used a brick texture here. Allow to dry for 24 hrs. 


 After 24 hrs you can peel the paper from the texture plate.  At this point you will have something very flexible and more like a soft silicone.
 Now as cool as that was, I had to keep experimenting. 
 I did a quick dry brush of brown acrylic craft paint. And a little dab to remove some. I don't want to completely lose that vintage wording underneath.
 I added a dry brush of gold, silver and  copper. Then used some watered down white to get into the cracks hoping this would look like cement and lime deposits. 
Use the watery white at the top and let it drip down , just as it would along bricks naturally. Then blot up the excess. 
 You may need to dry brush a bit more over the white. I also sanded the brick a little bit to help reveal the printed words underneath. 

This was extremely easy and I can see it used as a background with flowers , in card making , ornaments and more. 

Happy crafting friends.


With love and gratitude,

Michele


Find me partying here all week at these link parties with some great bloggers.

If you are in Myrtle Beach come on down and visit us at the Coastal Bohemian Studio or check us out on Facebook, Pinterest , Instagram, or  G+ .
01 09 10