


I started out one morning wanting to create a mixed media paper, something I could scan and use to print out for use in future artwork.
Watercolor paper has the thickness I love and watercolors, to me , always have that dreamy, easiness about them. They provide a quick ethereal background, so you can see that was step one.


Next , I added a few stamps using
Archival Brand Black Permanent Ink.


Working to soften the overall look , I wiped on a thin layer of Gesso and wiped it right back off. There it is "Wipe on , wipe off"

Using a copper stamp pad and stencil brush, a stencil adds another layer of interest.


Using my finger I add a few smears of copper paint, rubbing it in here and there. I don't want it thick. I want to be able to see the images underneath.


To create some body and thicken the ornament for stability I adhered the printed page to some cardboard from a cereal box. On the backside of the cardboard I adhered one more of the printed pages so the back of the ornament would have a finished mixed media backing. Plus , this added to the thickness.

Also, I'm sure I could have arranged and cut these on my Cricut and saved myself a ton of hand cutting time.
Next, I added eyes to my guys and lined the entire perimeter of the seahorse with a permanent black marker. Now they really pop.
👀
At this point the paper is fragile and vulnerable to the elements , so to speak . Using a paint brush, I added a top coat of #DiamondGlaze , which gave me a beautiful glossy shine and protects the paper. (Be sure not to let the glaze seep over the edge, it will allow the paper to stick to your drying surface and we don't want that.)
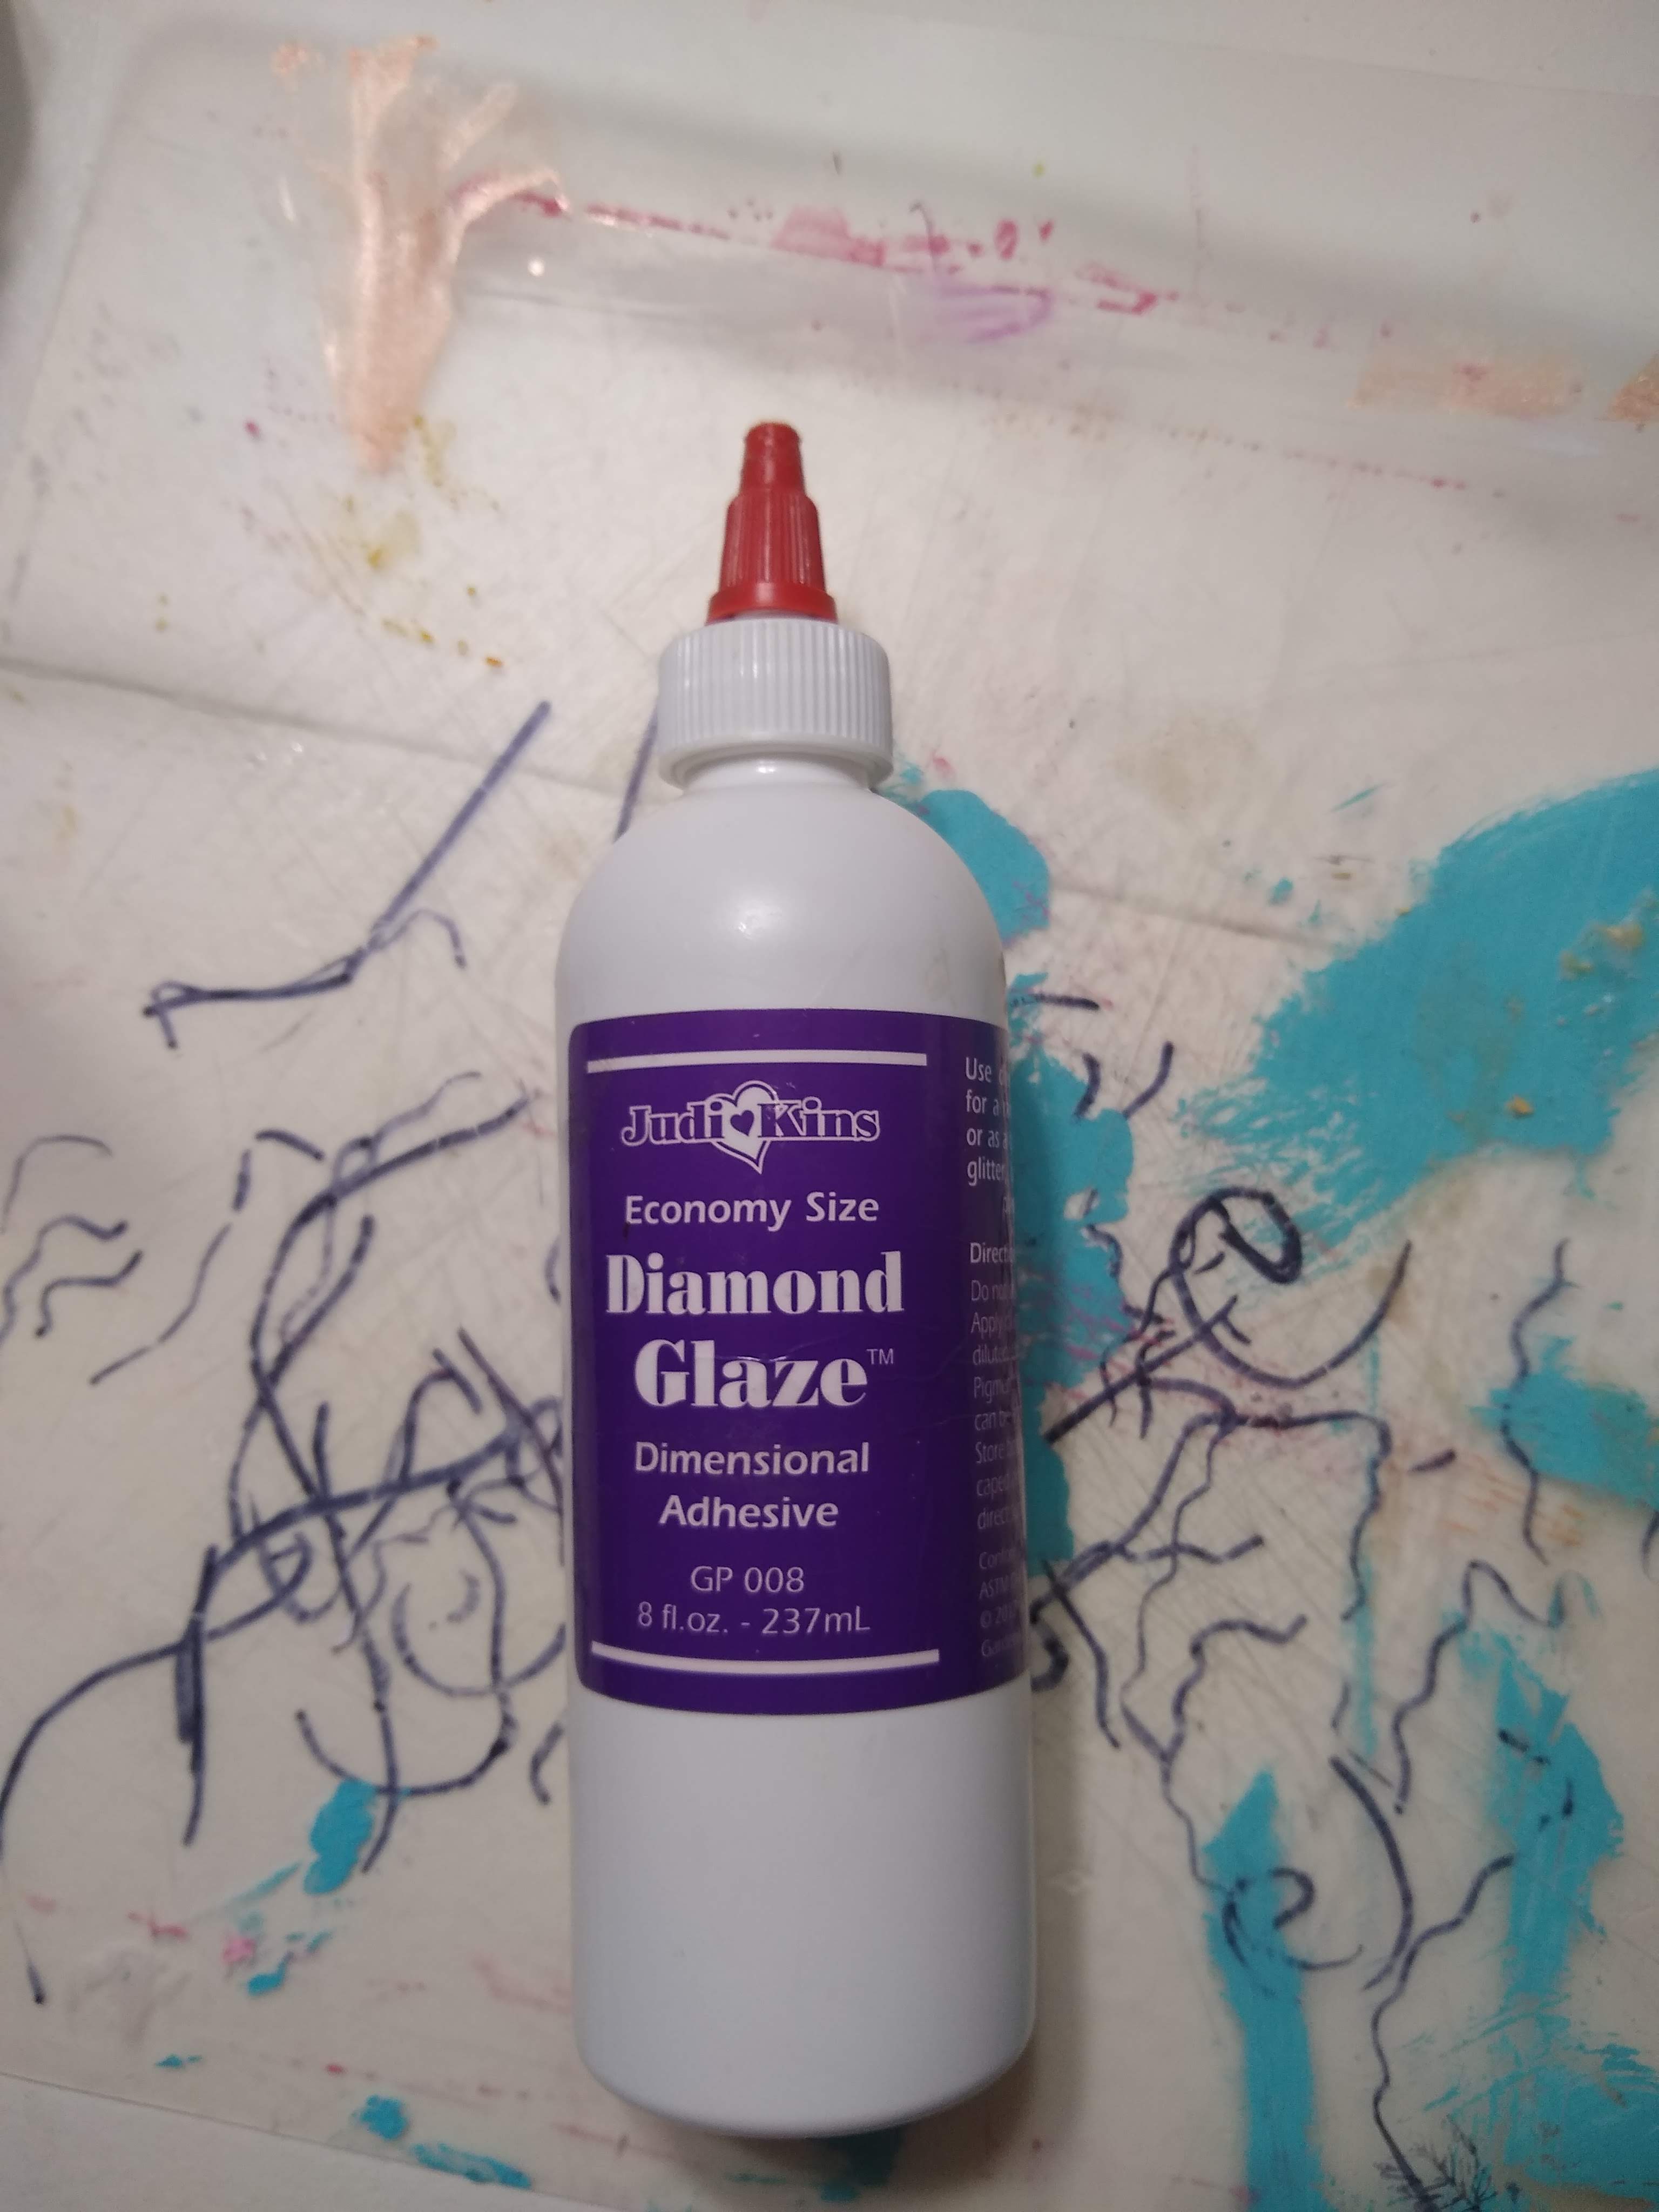

So pretty and bright and glossy . And those colors came shining through.
This is something fun to do with the kids and totally inexpensive.


Feel free to download this image to create your own ornaments.
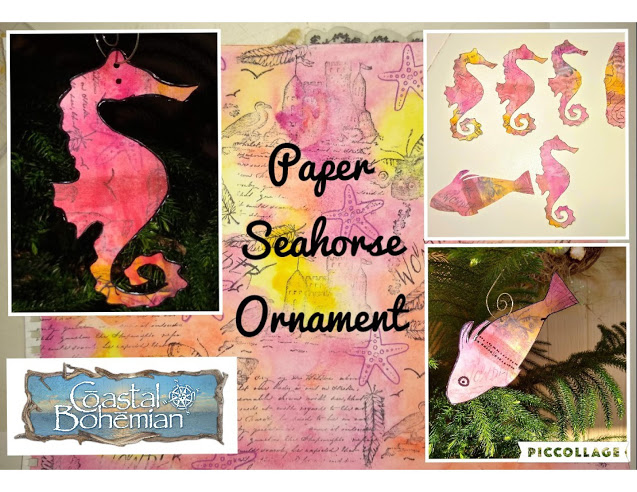
Hope you have fun with these very coastal, very bohemian ornaments.
For more paper ornaments check out these Surfboard ornaments. Click on photo.

For more #beachornaments #coastalornaments #nauticalornaments check out this post here .


Oh how cute. The glaze really makes them shine!! Thanks so much for linking up with me at my party #AThemedLinkup 34 for All Things Christmas, open until December 31 at 12:05 am. Shared on social media. I invite you to check out all of my themed link parties. Any link you add to my parties can also be added to my Unlimited Monthly party for more views and shares!!
ReplyDeleteThese are really pretty and I love the different layers! Adding the stamp makes it so much more interesting!
ReplyDeletewww.chezmireillefashiontravelmom.com
CONGRATS! Your post is FEATURED at #AThemedLinkup 35 for Christmas Recipes from my previous linkup for All Things Christmas, open until December 7 at 12:05 am.
ReplyDeleteI love the idea of a sea themed tree! These sea horses are adorable, and will be featured in this week’s Creative Compulsions.
ReplyDeleteMichelle
https://mybijoulifeonline.com
Beautiful result and I like the behind the scenes steps. :)
ReplyDelete