
Rag Rug Tutorial

I’ve admired handmade rag rugs for years in many styles,
sizes and colors. I’m a crafty chick. I know I can make one. I just need a
little guidance. Pinning around on Pinterest one day I got to pinning a few
tutorials. Eventually, I knew I’d get to it. Gotta love Pinterest.
Opportunity presented itself last October,when we were
evacuated from Myrtle Beach due to Hurricane Matthew and we headed inland to my
finance’s family. Hunkered down I knew I needed a creative task to keep me busy.
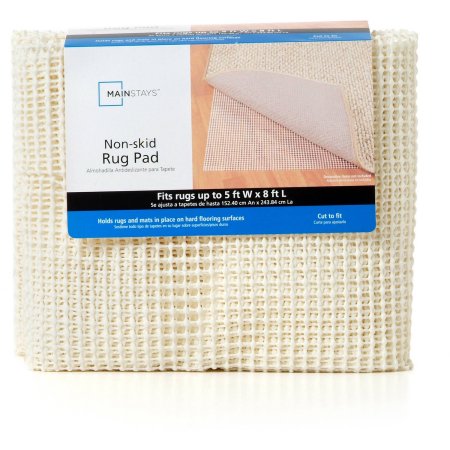
I bought a 5' x 8' non slip rug pad used to keep throw rugs in
place or to keep them from slipping about. These non-skids have an open weave
of small squares just the right size to pull through fabric scraps. (For the record,
I did not use fabric scraps, I used fabric at $.99 per yard from Walmart.)
I worked most of the time with the non-slip backing at its
full size thinking I was going to make a 5' x 8' rag rug. In the end, I made a 3' x
2' and it’s a great size throw rug for the foot of the bed or at the bedside.
Around the shortest side I began weaving 2" x 4" strips of
fabric. Oh, did I mention you should cut up your supply of fabric in strips 2"x 4" inches. I did not measure these perfectly either, I am not the perfect
crafter, I am the “Let’s get this done crafter”. Cut a row of 2” strips from your
fabric and use the first one as a template to cut the others. No pinning, just
quick cut the fabric. It’s not going to be perfect but that’s perfect for this
rag rug.
 Cut a 4” strip from the 2” strips and you have your 2" x 4" template. Cut your 2" x 4’s pieces that will be used for weaving.
I don’t use grids and wheels and all that fussy stuff to cut . I
would not get anything done.
Imagine 3 squares in
a straight line.
 Weave one piece of fabric, by hand, down into one square leaving square #2 open or skip square number 2 and pull your strip up though square #
3. Pull the fabric taut and even it out on both sides.
Weave one piece of fabric, by hand, down into one square leaving square #2 open or skip square number 2 and pull your strip up though square #
3. Pull the fabric taut and even it out on both sides.

You do not need to tie the fabric, no knots
needed. Eventually, the fabric becomes condensed as you continue to weave and
it’s rare to lose a fabric piece. If you do lose a piece, weave it back into the rug.
Continue weaving in this way, but leave one empty square
between sets of three squares along the 2' rows until you reach the size
you like.


While weaving leave a blank row between rows.

I usually fold the
entire row along the # two square, making it easy to pull fabric strips through
squares 1 and 3.
Cut the excess padding once you reach the size you like. Done.
Here's what the back will look like.

I am loving this rag rug.


Thx for reading along.
Michele
Where I party

No comments:
Post a Comment