Wednesday, November 30, 2016

Bucket O Shells Ornament


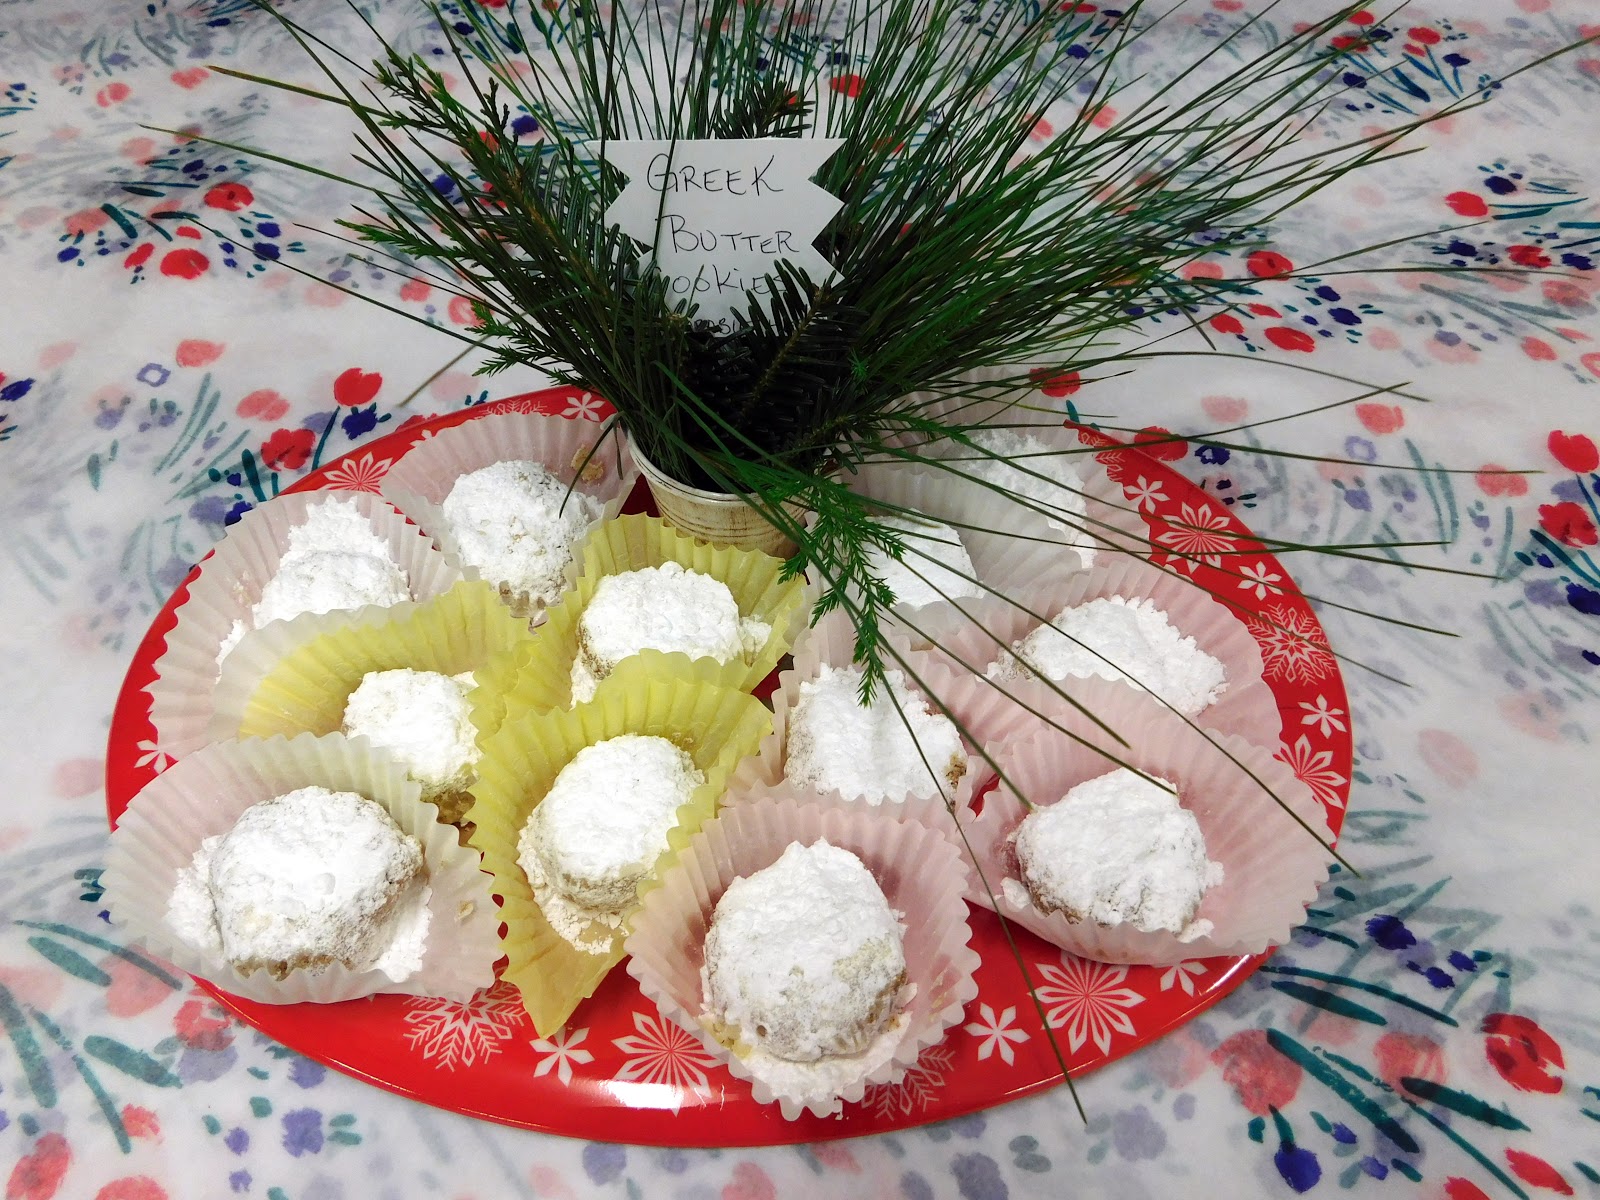
Coastal Bohemian Studio , my art studio, recently had a cookie exchange. As a cookie label, I had designed a quick little piece that looked like this . For instructions on the cookie exchange see the cookie exchange blog.
Now I'm sitting there staring at these little buckets, twisting them around , flipping them upside down pondering their next use when my beach brain kicks into gear. Seashells. Let's pause and remember the name of this Blog. No surprise here. 


Everyone that has a pail has had it filled with seashells. 
Make note these buckets are only 2" tall.
OMG  Filled with tiny shells, heavenly buckets of love. 
So simple too. Nudge a piece of foam into the bucket and glue to the bottom with hot glue . Arrange tiny seashells in layers ,concealing all the foam . Done.  

Add some tiny pieces of driftwood. What Coastal Bohemian doesn't collect driftwood at the beach? You know you have some around the house.


 Hang on the tree, give as gifts, use as bridal shower favors, seating card displays etc etc.


These buckets were purchased at Dollar Tree at $1.00 for three. I swiped on a bit of dark wax and then buffed most of it out to get a rusty bucket effect.


You could really personalize these by decoupaging (it's word, I added it to my dictionary)on a vintage graphic from the www.graphicsfairy.com or we have started painting Xmas 2016 , wedding dates, and names .

Hope this gives you a fun idea for the holidays .
Michele 


Tuesday, November 22, 2016

Cookie Exchange Labels


As the holidays neared I decided to get a cookie exchange together for down at the studio . I thought it would be fun to mix friends and clients for a night of holiday entertainment. It had been years since I participated in one let alone put one together.

It occurred to me, at the very last minute, that we needed some sort of a label for the cookie display.
I searched around Pinterest but couldn't find anything exciting that would be quick and easy and so I took myself to #DollarTree to see if I could become inspired with something inexpensive. And so I found these. But what next? Too bright and shiny for this rusty , vintage , antique , shabby chic mama.


 I used a little dark brown wax from Fiddes and sons. Wipe on quick and wipe off .


Coincidentally, I had been filling my flower pots with greenery claimed from the nearby woods around our property. Me thinks I have an idea.

Snip , snip snip. Looking good.


My plan was to cut a few rectangles for labels and glue to wooden skewers until I remembered I had theses from Dollar Tree . These were the perfect size
and I didn't have to spend any extra time cutting down wooden skewers. 

 Wait let's add a little character to the label/sign pick. A quick snip around the sides makes this look like an old sign.
                                                             Glue to the  tiny forks.


Add a pencil or marker and everyone can add the name of their cookies to the sign and pop it into the the pail.

                                                          Makes an exciting display.


These were a big hit and helped lend a festive  holiday mood to the atmosphere of  the room. 
Let me know if you decided to use this idea. Would love to see pics and share with our readers. 

Michele 


Tuesday, November 15, 2016

Thanksgiving Blocks

I was inspired by vintage Thanksgiving images found at Graphicsfairy.com. (More at the end of the blog.) I wanted something fun for my November craft classes but yet affordable .


Needless to say I was able to make this into a fun craft class .


I went to Home Depot and bought some of their discounted wood , took it back to my shop and cut it to a size I thought made a nice set.  I bought 1 x 6 and 1 x 4 boards.  I did 
5 x7 boards and 3 x 5 boards. (The boards at HD are actually milled smaller than their listed sizes so a 6 " board is actually 5.5" which was great for my publisher layout.)


I used some Fiddes Rugger Brown wax to give the wood some depth and color. To apply the wax you brush on the wax, wipe off excess and then buff .


Wax.  


Buffed.

After that we decoupage the images to the wood.

More images . These may print out to 5 x7 if you save this image.
These may print 3 x 5 .


Add some embellishments for a little pizzazz. This image is from the class I did and you can see everyone had different ideas for embellishments.


These would look adorable if you  personalize them as seat holders.


 Thanks for stopping in to visit the Coastal Bohemian Blog .

Here's to a Thanksgiving filled with love and  gratitude.

Michele Michael


We are always so grateful for you.

And don't forget to find us partying here.


Wednesday
Wow Me Wednesday at Ginger Snap Crafts 


Thursday, November 10, 2016

DIY Cheap Furniture Legs #Cheapfurniturelegs

Howdy folks. Just an idea. Not actually tested as yet but a big assumption this will work.  I had bought these wooden rolling pins from ....

 I was planning to use them for a clay class that we do down at the studio every Monday. Instead, I bought that handy clay/pasta machine rolls out my clay in seconds, evenly.
My upcycling brain kept looking at them and thinking ....
And so it hit me one day.


I could use them as legs. You could probably use them in their original length too but for this blog  we just did a quick cut.


  You can spend $2.00 for 4 legs or $16.00 for 4 legs .              
                                                                           
Not an awful big savings but still a savings. 
Here's a leg from home depot for $3.95. Certainly different but if it doesn't matter, hey ,DIY on the cheap my friend.


Waddell

12 in. Wood Round Taper Table Leg

$3.97 ea.

Just a fun tip. Hope it helps. 

Keep up the good work out there.
Upcycle, Recycle, Repurpose and share.
Michele Michael 

Tuesday, August 30, 2016

Texture Casting Seahorses make this piece POP


I took this old red bedside table and Chalk Country Painted it.


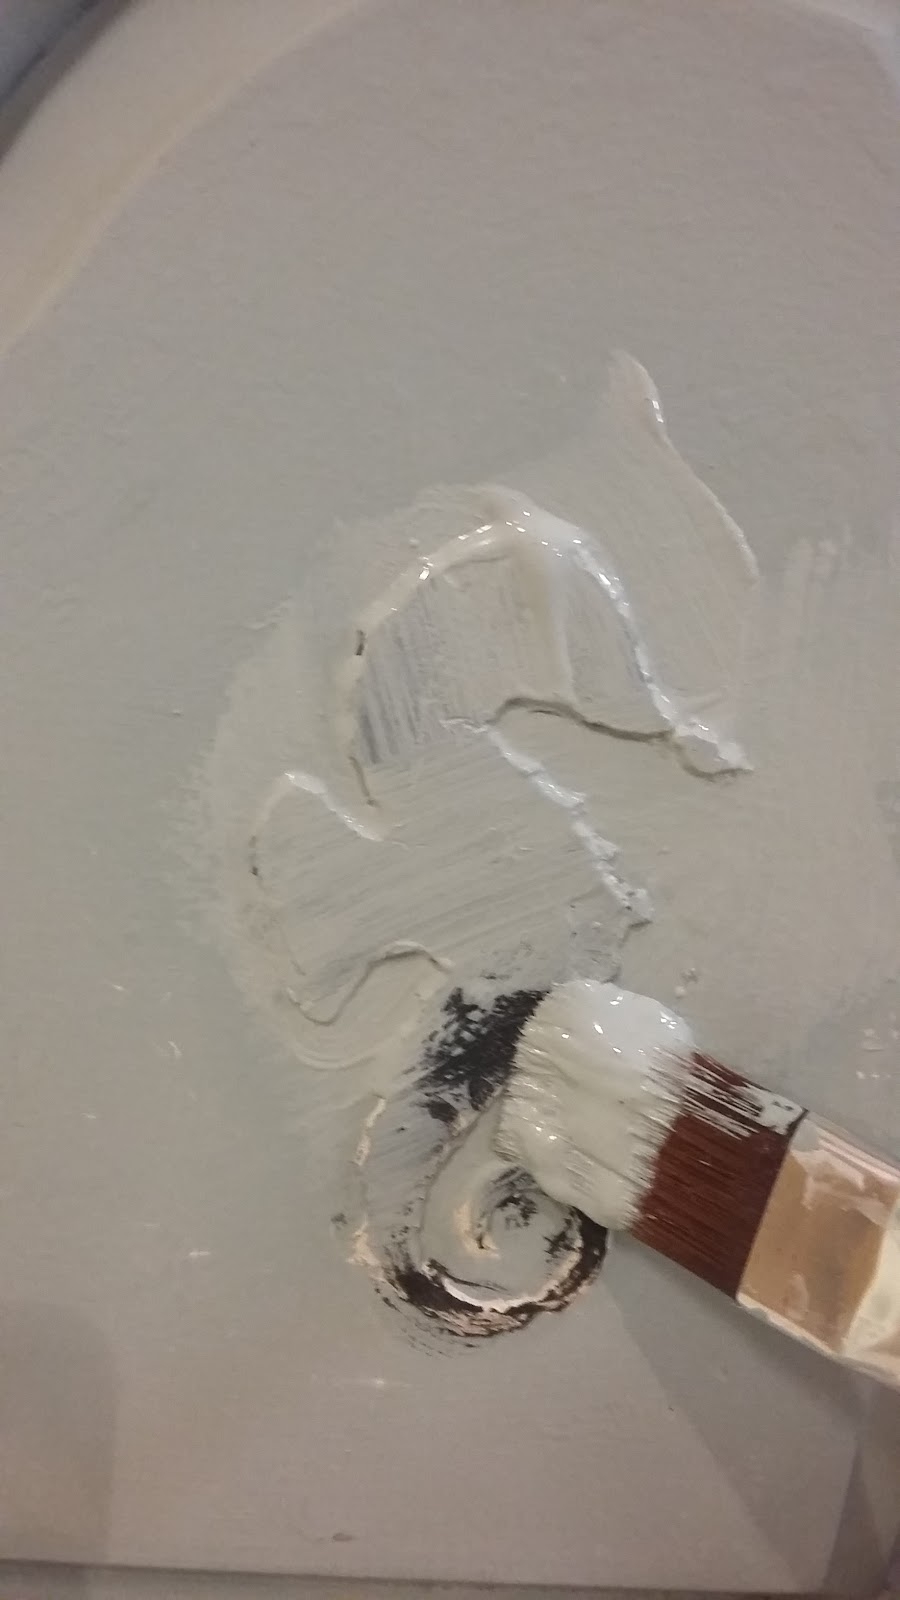
Next I used a seahorse stencil and then applied texture casting to the two doors . The texture casting is a wood based compound that adheres to the chalky painted finish and most wood pieces. You lay down the stencil and cover the image with texture casting using a spatula.


After you have completely covered the stencil image with texture casting , you very carefully lift the stencil straight up and off the furniture. Let dry 24 hrs. The piece will have peaks and valleys just like this photo below. The photo below shows the side angle of the casting before sanding. ******Because the photo I took of the side angle of this piece was not good I am including a pic from another project. This is meant to show you the peaks and valleys before sanding. Using a rotary sander you can now smooth the casting down.


At this point you can paint or stain or wax the casting.


I decided that I wanted to distress mine so I could see some color below . I painted black and not a perfect job because I knew I wanted this to look old and IMPERFECT!


 Now a top coat of the base color.
Some sanding and some clear wax and new knobs. Painted handle and glimmered with some glimmer powders. Cost below for two tables


Thanks for stopping by . Don't forget to leave a comment below.

 I  love when you give feedback.
Happy Labor Day and Happy  Back to School. 
-Michele 


                                                  www.coastalbohemian.net
                                             843-779-6041 or 631-245-2674
                                               coastalbohemian@gmail.com


Monday, August 8, 2016

Voted Best Craft Retailer -The Happening List 2016

Voted Best Craft Retailer 2016


Thanks for voting. Coastal Bohemian won 2016 Happening List Retail Craft Retailer. 
Insert 
happy dance scene


With love and gratitude,

Michele


Find me partying here all week at these link parties with some great bloggers.

If you are in Myrtle Beach come on down and visit us at the Coastal Bohemian Studio or check us out on Facebook, Pinterest , Instagram, or  G+ .
01 09 10