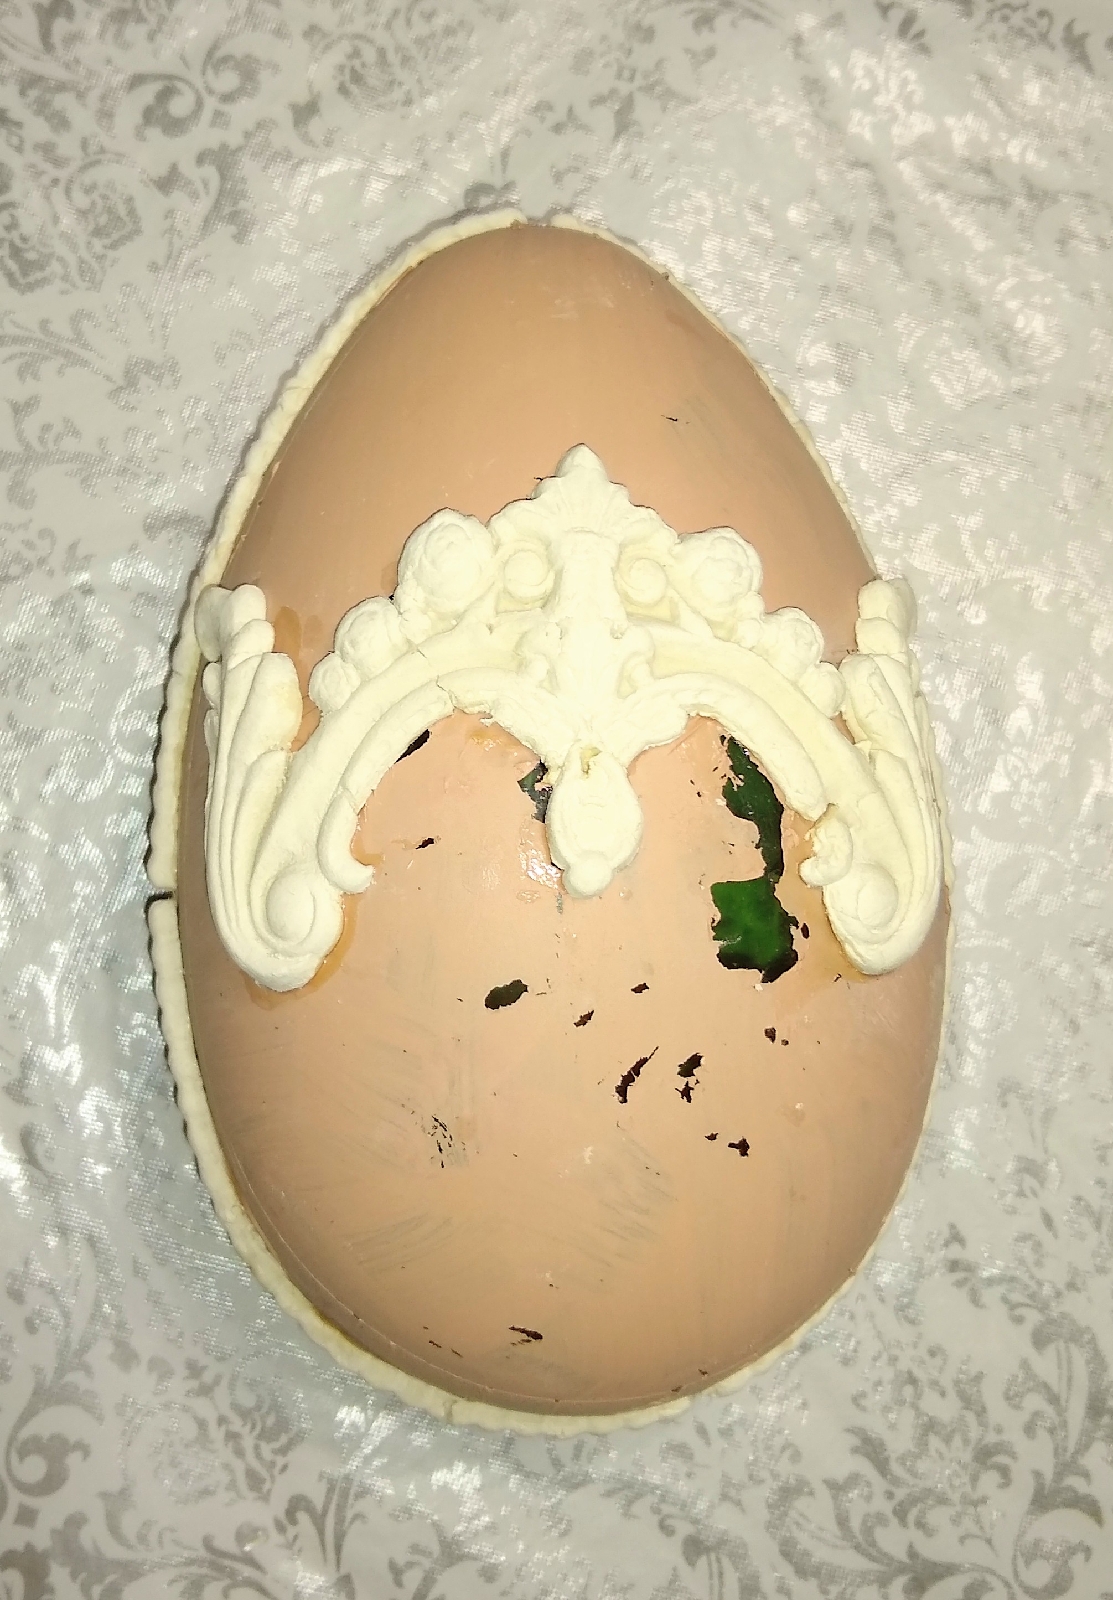
Well this was fun. Look at the size of this egg. If I had my studio set up I would have made more of these sparkly girls. I am currently working in a one bedroom condo with a take over of the kitchen table. Lol.
I used molded air dry paper clay, seed beads and big glitter flakes for this one but I also used saw dust on the golden egg. I just painted the saw dust gold. It added so much depth and richness. These will become keepsakes for sure.
First , I picked up a few of these large fillable eggs at the Dollar Tree.
Next , I glued the sides with wood glue and added some blue tape for extra protection.
After a quick coat of paint , I used my air dry paper clay and molds to create the raised embellishments. These molds are from Iron Orchids and the clay is by Sax. If you decide to try these molds and clay , you need to know that it's important to dust the molds with cornstarch prior to molding . And that's each time you mold the clay. The cornstarch helps to release the clay from the mold.
See why the latex is not great. A quick coat of chalk paint makes everything right. Now my clay will take on my diy gilding wax.
Here , I'm mixing up a blend of mica powders and extra virgin coconut oil to create a rose gold wax for the embellishments. This is easily applied with a small paint brush.
Isn't this good looking? I'm in love!!!!! In a bowl I mixed the beads and large flake glitter. Next, I apply mod podge and sprinkle with beads and allow it to dry.Time consuming but worth it .Here , I'm mixing up a blend of mica powders and extra virgin coconut oil to create a rose gold wax for the embellishments. This is easily applied with a small paint brush.
And then this happened too.
For my other egg....
I used the ring of tape to keep the egg upright while it dried. I did do this in patches and when it dried went on to fill in around the egg. It's time consuming but well worth the time spent , especially if you plan on pulling these pretty babies out each year for Easter and Spring. Side note, these would make nice dinosaur eggs or dragon eggs. They are probably 10" long.
Add a coat of gold paint.
Would you enjoy one of these as a gift? I've made this rose gold one for my mother in law. I hope she likes it .
With love and gratitude,
Michele
Find me partying here all week, at these link parties, with some great bloggers.
Follow us out on Facebook, Pinterest , Instagram, Linkedin, or Bloglovin .
Michele
Find me partying here all week, at these link parties, with some great bloggers.
Follow us out on Facebook, Pinterest , Instagram, Linkedin, or Bloglovin .


What gorgeous art pieces, Michele! Extremely unique!
ReplyDeleteThanks Maya I was going for something really keepsake.
DeleteWhat gorgeous pieces! Love this idea. Pinning for next year.
ReplyDeleteThese are gorgeous and you would never know that they started with a plastic egg from Dollar Tree. So very creative. Thanks for sharing them and Happy Easter. #HomeMattersParty
ReplyDeleteGorgeous! Happy Easter and thanks for sharing at Vintage Charm. xo Kathleen
ReplyDelete