Monday, July 16, 2018

Conch Shell Sign - #listen


I love free finds and palette wood is basically one of those free goodies, except for the fact that you have to cut it down with a reciprocating saw. However , I have mastered this technique. My fiancĂ© bought me a lightweight tool pack from Porter Cable with a drill, screw gun and the reciprocating saw. I have a neck injury that was being aggravated by the saw but thanks to  the new lightweight saw I can tear up those pallets. 


You'll need a stock pile of reclaimed pallet wood for this craft. The wood pieces in this post were from projects I had around the studio. 
You need to choose 4 pieces of wood similarly sized to create the one large sign. 
First glue one board to the next board along the long side using wood glue. I use Gorilla Glue .Get a nice tight bond and then staple the 1st piece to the second piece of wood . Continue this with the remaining 2 boards , gluing and stapling. 
Flip the entire piece over and staple the back. 
At this point  you should have something like this. 

Next you'll want to paint the sign with White Chalk Paint.  I use Chalk Country Paint Crisp Collar.

After that, I painted on a vignette using a DIY glaze, (read about the DIY glaze here), made from Flood and a few drops of craft paint.
Black paint and a floral stencil was used to embellish the corners


Now for the something something.
This conch shell is a favorite image of mine . You can find it and other vintage images  at the Graphicsfairy.com

I printed the image on my computer  and cut it out .
I want to adhere the image with Mod Podge but I need to seal the ink . This will keep the ink from bleeding through onto my project.  It's a simple technique. Using a paint brush coat the entire surface of the image with a layer of Fiddes and Sons Clear wax. 

Work from the center out with the brush strokes. In this way you are less likely to tear or crinkle your image. As soon as the wax is covering the image,  take a clean , lint free cloth and remove the excess wax and then buff the image. Just like you would buff wax on a car or wax a pair of shoes. Wax until you see the shine. Now you are ready to adhere the image with the Mod Podge.

After that I added the word Listen 


You can hand write it or print it in a font you love .
Again, you'll wax and buff your image and then adhere with Mod Podge. You can put a simple sawtooth hanger on the back to hang on the wall.

Here is another one I made at the same time on a small board approx 5 x7. I used paper clay to create a  clay rose and used the Gorilla glue to adhere the rose to the wood.
(Love these roses)


Listen comes to mind with the Conch shell because if you put the shell to your ear you can hear the ocean, but "Listen"  means so much more to me. It means to become mindful, listen to your intuition, listen to your children , listen to those you love and listen to the world and your body and your soul. With all the talking and business and texting and social media .. when was the last time you LISTENED. 
 My wish for you is that you take a moment or two to get quite and Listen . Maybe do a Youtube.com meditation. Here's a Listening Meditation from Youtube.com


You can find links to all the products I use below . Hopefully these products will bring you as much joy as they have to me. 


With love and gratitude,

Michele


Find me partying here all week at these link parties with some great bloggers.

If you are in Myrtle Beach come on down and visit us at the Coastal Bohemian Studio or check us out on Facebook, Pinterest , Instagram, or  G+ .

Sunday, July 15, 2018

Pork and Sweet Potatoes


 Ingredients
1 lb ground pork
2 large sweet potatoes
1/4 1b fresh cleaned string beans 
handful of whole walnuts
olive oil 
balsamic vinegar
pomegrante juice
1/2 cup water


For this recipe I tossed sweet potatoes and string beans with 2 tbls of olive oil and roasted in a 400 degree oven for 20 minutes.I flipped the veggies at the 10 min mark. After I turned off the heat, I added the handful of walnuts to the pan  for 1 minute and then  remove from oven.


While the veggies were roasting, I sauteed one whole onion in 1 tbls of olive oil. I cooked it on high trying to get it browned . After the onions browned, I added 2 cloves of garlic and sauteed that for about 1 minute. Next I added 1 lb of ground pork, (this was very lean and added almost no fat to the dish), and I cooked it down for about 5 minutes. At this point, the pork is not very colorful . I added 1/2 cup of water to deglazes the pan and pick up all the brown bits from the pan. Immediately you'll see the pan start to color up with all that beautiful flavor being released into the dish. I added some salt and pepper and 2 tbls of balsamic vinegar.  Next, I added 3 tbl of pomegrante juice. I wanted to add some sweetness but not too much. 

Continue to simmer on high, cooking down until all the liquid has been absorbed. Lower the heat between high and medium and brown the pork . This will take another 4-5 minutes. 
The  pork is served over the roasted vegetables on a platter and sprinkled with fresh chopped parsley.

The flavor was perfect and it was low carb. I like it served in a bowl. 
The next morning I had some  the leftover with an over easy egg. 
This dish was a win for my family and I would make it for dinner again. I wonder what other veggies would compliment the ground pork topper?


With love and gratitude,

Michele


Find me partying here all week at these link parties with some great bloggers.

If you are in Myrtle Beach come on down and visit us at the Coastal Bohemian Studio or check us out on Facebook, Pinterest , Instagram, or  G+ .

Thursday, July 12, 2018

Funtastic Friday #187

Funtastic-Friday-Poster 600

FUNTASTIC FRIDAY 187 LINK PARTY

Interested in hosting a link party? We’re always looking for bloggers to join us as party hosts. If you’re interested, get in touch with me or one of the hosts.

Meet the Funtastic Friday Party Hosts

We’d love it if you followed us on social media.
MOST VIEWED

HOST FAVORITES
Brazilian Lemonade with Coconut
Heidi's favorite - Brazilian Lemonade with Coconut @ My Recipe Treasures
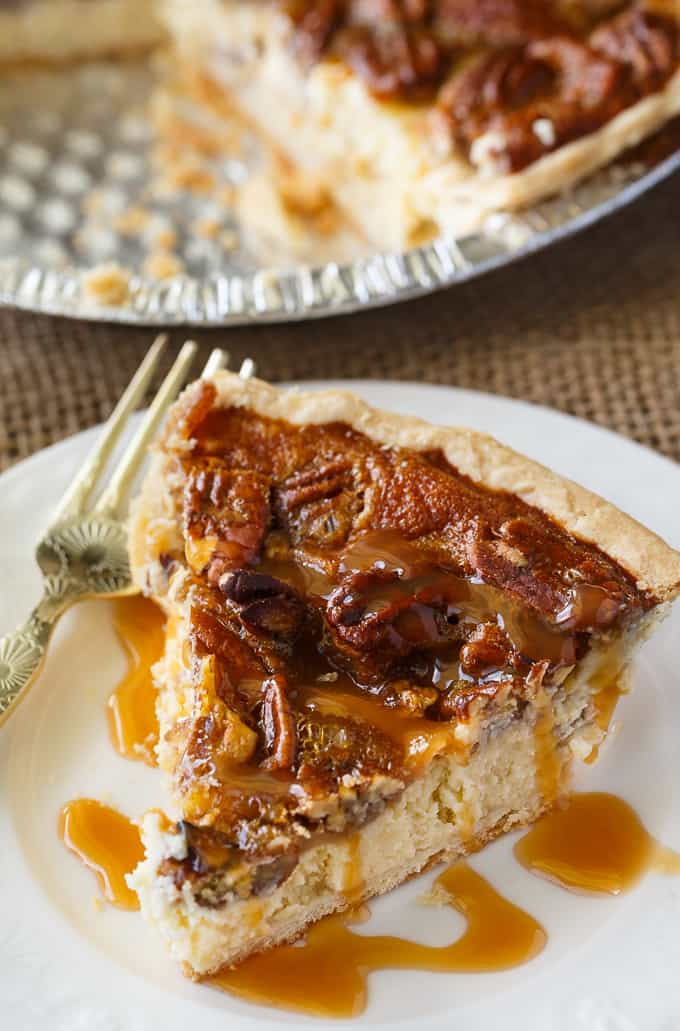
Pecan Pie Cheesecake - Creamy cheesecake filling is topped by a sweet layer of caramel pecans. This easy dessert recipe is one for the record books!
Debra's favorite - Pecan Pie Cheesecake @ Simply Stacie
Image may contain: dog and outdoor
Donna's favorite - Teddy's Coca-Cola Attire @ Sunshine in the Attic
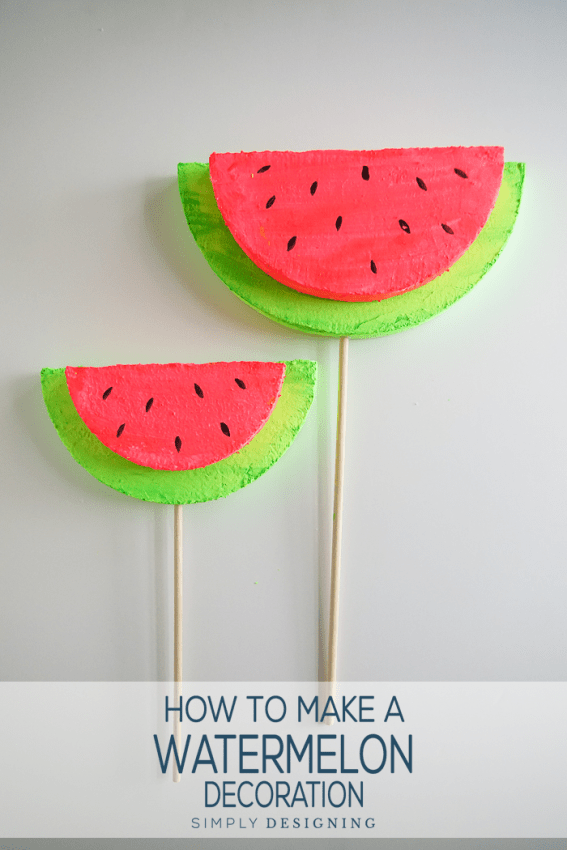
watermelon decoration
Cristy's favorite - How To Make A Watermelon Decoration @ Simply Designing
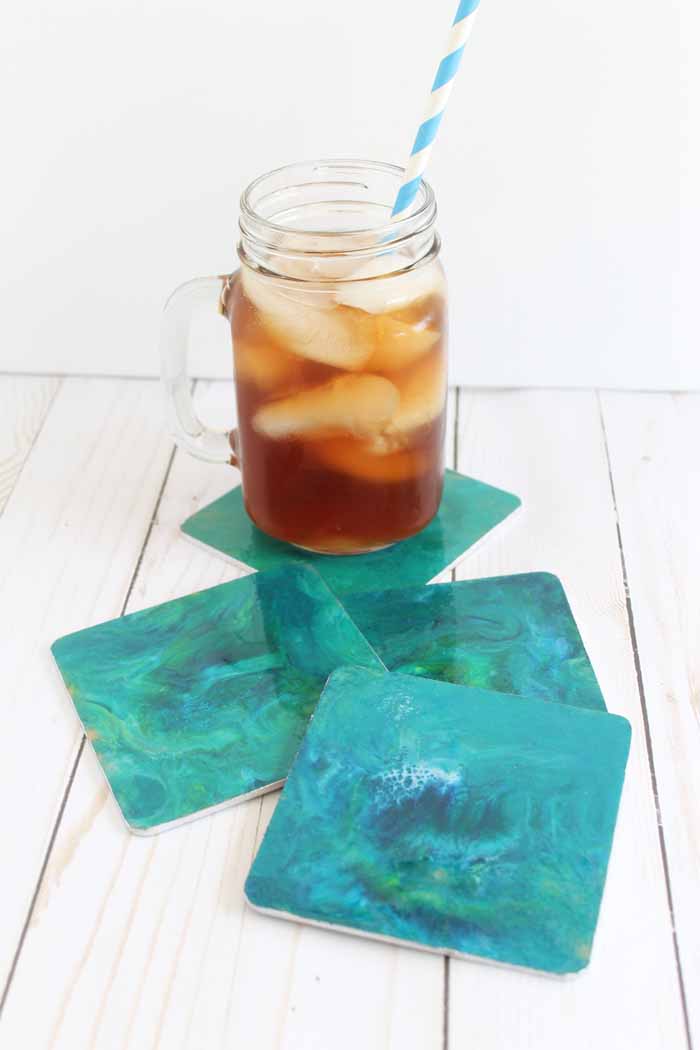
Resin poured marble coasters are the perfect addition to your home! Here we have used sea themed colors but you can mix and match any colors that work with your home decor for this easy resin pour project!
Shea's favorite - Poured Resin Marble Coasters @ Resins Crafts
Pineapple Upside Down Cookies - Pineapple upside down cake in cookie form because everyone loves cookies! Soft sugar cookie bottoms with a ring of pineapple and cherry center all covered in a brown sugar glaze!
Lacie's favorite - Pineapple Upside Down Sugar Cookies @ Cookie Dough and Oven Mitt
mid century style sewing basket side table kreativk.net
Michele's favorite - Mid Century Style Sewing Basket Side Table @ Kreative K
Best Ever Peanut Butter Fingers
Sherry's favorite - Best Ever Peanut Butter Fingers @ My Recipe Treasures
[bctt tweet="I was featured at the #FuntasticFriday link party!" username="olivesnokra"]
If you’re a featured blogger, please grab a button to place on your blog (right-click on the image and save the image to your computer):
  Funtastic-Friday-Featured-Thumbnail1
 If you’re linking up and joining the party, please grab a button or link back to Olives & Okra or one of the party hosts (right-click on the image and save the image to your computer): Funtastic-Friday-Link-Party-Thumbnail-150x
[bctt tweet="Add your link! The #FuntasticFriday link party is live!" username="olivesnokra"]
All features are pinned to Olives & Okra’s Funtastic Friday board.
Disclaimer: By submitting a link to this blog hop, you are giving me permission to share and/or feature your blog post and images on social media and on my blog, Olives & Okra. All links shared will either link back to the blog hop (link party) or to your blog.

Funtastic Friday 187 Link Party Rules

    1. Post as many links as you like
    2. Family friendly posts only
    3. Old posts are welcome
    4. Comments are greatly appreciated


With love and gratitude,

Michele


Find me partying here all week at these link parties with some great bloggers.

If you are in Myrtle Beach come on down and visit us at the Coastal Bohemian Studio or check us out on Facebook, Pinterest , Instagram, or  G+ .

Monday, July 9, 2018

July Upcycle Challenge- Mermaid Table


Welcome to the July Upcycle Challenge.

Meet my Mermaid Magazine Table
(Say that 5x fast)


I love doing these challenges with my blogging friends because it keeps me busy, creative and very happy. It's also very exciting to see where everyone else's creativity takes them for the challenge.
 If you like a good challenge or you are intrigued by upcycling stop by and visit the other bloggers listed below. 
Don't forget to leave us a comment . 
We look forward to new friends and discussions.


Here is my Upcycle Challege. For this challenge we were tasked with finding a thrift store piece for $10 and under and giving it a new life.  My piece is actually a donation so I definitely hit the price point mark for this challenge.


My friends know I am an upcycle mama, a chalky painting fool and so they donate their cast offs to me. I get messages of sidewalk goodies and yard sales all the time. The other day my neighbor, lovingly, helped me walk a giant vintage display case down to my house.(Thank you Renee) Gosh , I love my friends. 

Anyway, my friend Rick is moving and gave me this little cutie.  Of course , I don't truly have a before picture because I got to painting in a hurry, like I do, like I do do do. Can you hear a little jingle there?

First things first, I give this piece a wipe down and a coat of Chalk Country Paint in Crisp Collar, which is our white.
After a coat and a half of paint and some drying time, I use some 100 grit sandpaper to sand the edges and various spots, to get it looking distressed.

Now what? 
Boring, so boring. 
Who even likes magazine stands? Forget it ,this thing is not going to work for me. Yuck. 

Oh wait , what if I make it beachy...like I do do do.

I see Mermaids. So off to the Graphicsfairy.com to pick out a killer image. Something so gorgeous I won't be bored. I need inspiration!
Tada. 
I like to call her, Inspiration. 
Suddenly I am seeing a very black and white piece. Oddly , not my norm.

I printed her on standard paper and cut her out . Then I used some Mod Podge to place her onto the table. I only applied the Mod Podge glue to the back of the paper and was very careful not to rip her. (I ripped her the 1st time I tried to apply her.)


 While she dries, I stencil on a few designs .
(There it is , the black and white)
 Yes
 Yes

Boo boo alert. What? After the paint dried a few hours, I took a bit of sand paper to knock back the painted embellishments and create a little more distress but that was a mistake.

Even though the paint was dry , the sanded bits began to cling to the stark white chalky paint. Ugh.
 Not a look I was going for here. ( The answer to this is to wax the entire piece before sanding the black embellishments to make them looked distressed ). This doesn't always happen but with the black and the white ...well.

After a deep breathe, I grabbed a tiny paint brush and began a few quick touch ups with my Chalk Country Paint . 
Next I top coated the paper image with a clear wax and buffed it. This seals in the printer ink and keeps it from bleeding onto your project.

The whole piece was interesting but not a wow piece. 

 I had picked up some Flood just for this reason. I believe that Flood will act like a glaze and will be tintable and easy to work with without drying too fast.
I used approx. 2 tbl of Flood (actually I used a cap full but I believe it's about that)
I added one drop of white acrylic craft paint and 2 drops of black craft paint to create my glaze.


Now to test it out. 


That works . 

Here we go now. 


At this point, I'm thinking of showcasing the mermaid with the diy glaze but after the blotting it didn't feel right.


But in the end I filled it all in ,working in sections glazing and blotting. When that was good and dry, I went over the whole thing with a quick coat of the DIY Glaze and blotted it (all the while moving and twisting my hand to ensure a random finish).
 I was very satisfied with the Flood in helping create the DIY Glaze.
Boy, have I got some ideas for the Flood.
This is a pic of the wet glaze before I blotted that last time.

Here she is finished. After all was said and done, I coated the piece with clear wax 2 more times to create a durable finish and protect the paper image.


I love her. She's such a Coastal Bohemian.


With love and gratitude,

Michele


Find me partying here all week at these link parties with some great bloggers.

If you are in Myrtle Beach come on down and visit us at the Coastal Bohemian Studio or check us out on Facebook, Pinterest , Instagram, or  G+ .
01 09 10