Monday, July 9, 2018

July Upcycle Challenge- Mermaid Table


Welcome to the July Upcycle Challenge.

Meet my Mermaid Magazine Table
(Say that 5x fast)


I love doing these challenges with my blogging friends because it keeps me busy, creative and very happy. It's also very exciting to see where everyone else's creativity takes them for the challenge.
 If you like a good challenge or you are intrigued by upcycling stop by and visit the other bloggers listed below. 
Don't forget to leave us a comment . 
We look forward to new friends and discussions.


Here is my Upcycle Challege. For this challenge we were tasked with finding a thrift store piece for $10 and under and giving it a new life.  My piece is actually a donation so I definitely hit the price point mark for this challenge.


My friends know I am an upcycle mama, a chalky painting fool and so they donate their cast offs to me. I get messages of sidewalk goodies and yard sales all the time. The other day my neighbor, lovingly, helped me walk a giant vintage display case down to my house.(Thank you Renee) Gosh , I love my friends. 

Anyway, my friend Rick is moving and gave me this little cutie.  Of course , I don't truly have a before picture because I got to painting in a hurry, like I do, like I do do do. Can you hear a little jingle there?

First things first, I give this piece a wipe down and a coat of Chalk Country Paint in Crisp Collar, which is our white.
After a coat and a half of paint and some drying time, I use some 100 grit sandpaper to sand the edges and various spots, to get it looking distressed.

Now what? 
Boring, so boring. 
Who even likes magazine stands? Forget it ,this thing is not going to work for me. Yuck. 

Oh wait , what if I make it beachy...like I do do do.

I see Mermaids. So off to the Graphicsfairy.com to pick out a killer image. Something so gorgeous I won't be bored. I need inspiration!
Tada. 
I like to call her, Inspiration. 
Suddenly I am seeing a very black and white piece. Oddly , not my norm.

I printed her on standard paper and cut her out . Then I used some Mod Podge to place her onto the table. I only applied the Mod Podge glue to the back of the paper and was very careful not to rip her. (I ripped her the 1st time I tried to apply her.)


 While she dries, I stencil on a few designs .
(There it is , the black and white)
 Yes
 Yes

Boo boo alert. What? After the paint dried a few hours, I took a bit of sand paper to knock back the painted embellishments and create a little more distress but that was a mistake.

Even though the paint was dry , the sanded bits began to cling to the stark white chalky paint. Ugh.
 Not a look I was going for here. ( The answer to this is to wax the entire piece before sanding the black embellishments to make them looked distressed ). This doesn't always happen but with the black and the white ...well.

After a deep breathe, I grabbed a tiny paint brush and began a few quick touch ups with my Chalk Country Paint . 
Next I top coated the paper image with a clear wax and buffed it. This seals in the printer ink and keeps it from bleeding onto your project.

The whole piece was interesting but not a wow piece. 

 I had picked up some Flood just for this reason. I believe that Flood will act like a glaze and will be tintable and easy to work with without drying too fast.
I used approx. 2 tbl of Flood (actually I used a cap full but I believe it's about that)
I added one drop of white acrylic craft paint and 2 drops of black craft paint to create my glaze.


Now to test it out. 


That works . 

Here we go now. 


At this point, I'm thinking of showcasing the mermaid with the diy glaze but after the blotting it didn't feel right.


But in the end I filled it all in ,working in sections glazing and blotting. When that was good and dry, I went over the whole thing with a quick coat of the DIY Glaze and blotted it (all the while moving and twisting my hand to ensure a random finish).
 I was very satisfied with the Flood in helping create the DIY Glaze.
Boy, have I got some ideas for the Flood.
This is a pic of the wet glaze before I blotted that last time.

Here she is finished. After all was said and done, I coated the piece with clear wax 2 more times to create a durable finish and protect the paper image.


I love her. She's such a Coastal Bohemian.


With love and gratitude,

Michele


Find me partying here all week at these link parties with some great bloggers.

If you are in Myrtle Beach come on down and visit us at the Coastal Bohemian Studio or check us out on Facebook, Pinterest , Instagram, or  G+ .

Thursday, July 5, 2018

Funtastic Friday #186

Funtastic-Friday-Poster 600


I'd like to wish you all a belated Independence Day , although I'm pretty sure we just got a 2 week celebration out of this one day. 

I like to  keep my red, white and blue decor for the entire summer. Labor Day weekend is my cue to get ready for Fall decorating. 

Here's a fun  piece to keep around this summer. 

Check out the link for the how to . 

BTW . I'm so excited to showcase 
Make A Stylish Bench from Nightstands In One Day @ Dazzle While Frazzled. I'm an Upcycler and I love this idea.

FUNTASTIC FRIDAY 186 LINK PARTY

Interested in hosting a link party? We’re always looking for bloggers to join us as party hosts. If you’re interested, get in touch with me or one of the hosts.

Meet the Funtastic Friday Party Hosts

We’d love it if you followed us on social media.
MOST VIEWED (LACIE & DEBRA'S FAVORITE, TOO)

Frozen Coffee Cream Pie @ Cookie Dough and Oven Mitt
HOST FAVORITES
Create a drop zone by turning two old tables into a storage and seating bench.Michele's favorite - Make A Stylish Bench from Nightstands In One Day @ Dazzle While Frazzled
no bake homemade chewy granola bars with chocolate
Mexican corn on a baking sheet with mayo, feta cheese, cilantro, bacon, and lime wedges
Heidi's favorite - Mexican Corn on the Cob with Bacon @ Adventures of Mel
Painted Concrete Slab and Brick Pavers One Year Later - So Much Better With Age
Shea's favorite - Painted Concrete Slab and Brick Pavers One Year Later @ So Much Better with Age
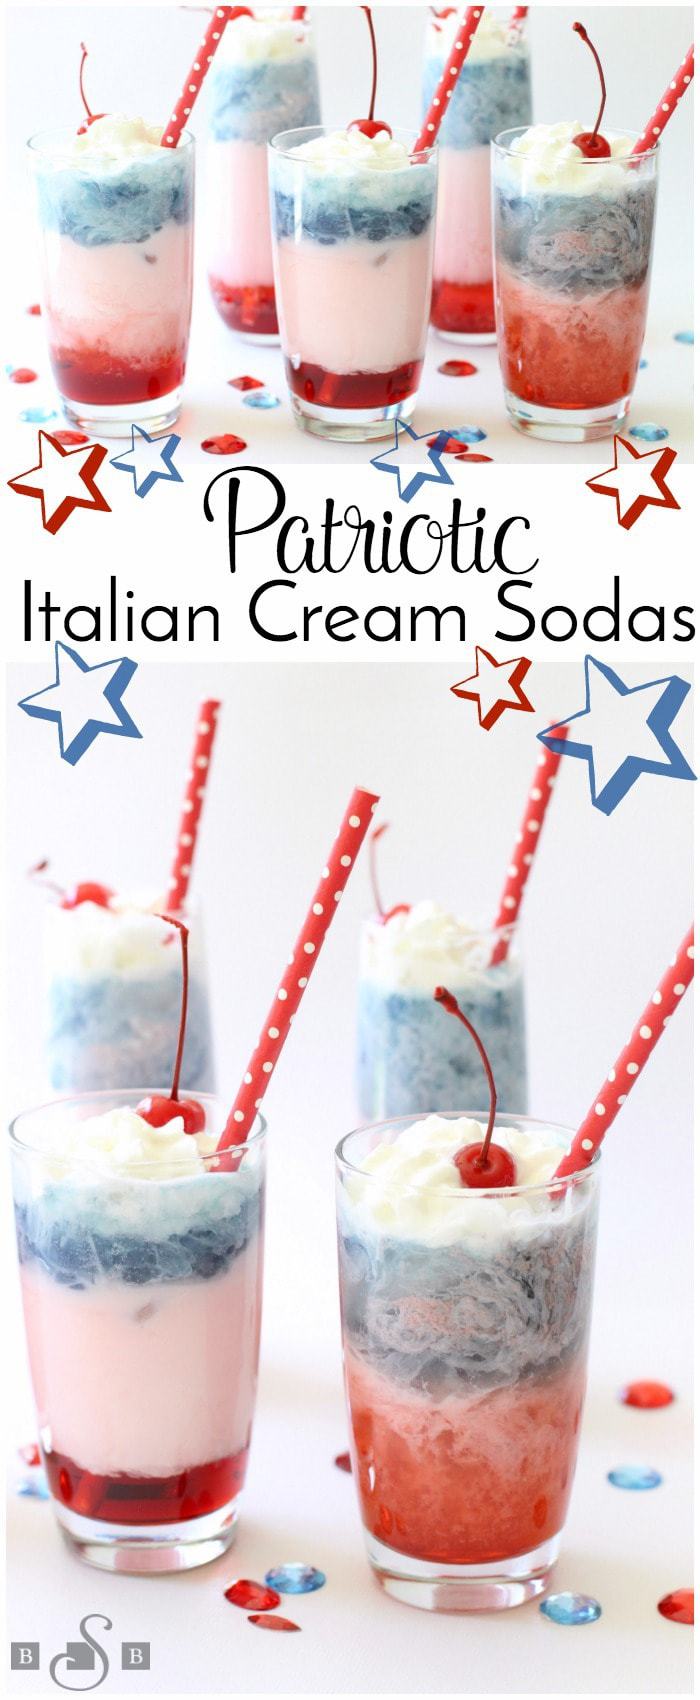
Patriotic Red White Blue Italian Cream Sodas - Butter With A Side of Bread
Sherry's favorite -  Patriotic Red, White & Blue Italian Cream Sodas @ Butter with A Side of Bread
[bctt tweet="I was featured at the #FuntasticFriday link party!" username="olivesnokra"]
If you’re a featured blogger, please grab a button to place on your blog (right-click on the image and save the image to your computer):
  Funtastic-Friday-Featured-Thumbnail1
If you’re linking up and joining the party, please grab a button or link back to Olives & Okra or one of the party hosts (right-click on the image and save the image to your computer): Funtastic-Friday-Link-Party-Thumbnail-150x
 Help grow the Funtastic Friday link party. Tweet about the party, please!
[bctt tweet="Add your link! The #FuntasticFriday link party is live!" username="olivesnokra"]
All features are pinned to Olives & Okra’s Funtastic Friday board.
Disclaimer: By submitting a link to this blog hop, you are giving me permission to share and/or feature your blog post and images on social media and on my blog, Olives & Okra. All links shared will either link back to the blog hop (link party) or to your blog.

Funtastic Friday 186 Link Party Rules

  1. Post as many links as you like
  2. Family friendly posts only
  3. Old posts are welcome
  4. Comments are greatly appreciated

With love and gratitude,

Michele


Find me partying here all week at these link parties with some great bloggers.

If you are in Myrtle Beach come on down and visit us at the Coastal Bohemian Studio or check us out on Facebook, Pinterest , Instagram, or  G+ .

Mermaid Magazine Table


My friends know I am an upcycle mama, a chalky painting fool and so they donate their cast offs to me. I get messages of sidewalk goodies and yard sales all the time. The other day my neighbor, lovingly, helped me walk a giant vintage display case down to my house.(Thank you Renee) Gosh , I love my friends. 

Anyway, my friend Rick is moving and gave me this little cutie.  Of course , I don't truly have a before picture because I got to painting in a hurry, like I do, like I do do do. Can you hear a little jingle there?

First things first, I give this piece a wipe down and a coat of Chalk Country Paint in Crisp Collar, which is our white.
After a coat and a half of paint and some drying time, I use some 100 grit sandpaper to sand the edges and various spots, to get it looking distressed.

Now what? 
Boring, so boring. 
Who even likes magazine stands? Forget it ,this thing is not going to work for me. Yuck. 

Oh wait , what if I make it beachy...like I do do do.

I see Mermaids. So off to the Graphicsfairy.com to pick out a killer image. Something so gorgeous I won't be bored. I need inspiration!
Tada. 
I like to call her, Inspiration. 
Suddenly I am seeing a very black and white piece. Oddly , not my norm.

I printed her on standard paper and cut her out . Then I used some Mod Podge to place her onto the table. I only applied the Mod Podge glue to the back of the paper and was very careful not to rip her. (I ripped her the 1st time I tried to apply her.)


 While she dries, I stencil on a few designs .
(There it is , the black and white)
 Yes
 Yes

Boo boo alert. What? After the paint dried a few hours I took a bit of sand paper to knock back the painted embellishments and create a little more distress but that was a mistake.

Even though the paint was dry , the sanded bits began to cling to the stark white chalky paint. Ugh.
 Not a look I was going for here. 

After a deep breathe, I grabbed a tiny paint brush and began a few quick touch ups with my Chalk Country Paint . 
Next I top coated the paper image with a clear wax and buffed it. 

The whole piece was interesting but not a wow piece. 

 I had picked up some Flood just for this reason. I believe that Flood will act like a glaze and will be tintable and easy to work with without drying too fast.
I used approx. 2 tbl of Flood (actually I used a cap full but I believe it's about that)
I added one drop of white acrylic craft paint and 2 drops of black craft paint to create my glaze.


Now to test it out. 


That works . 

Here we go now. 


At this point, I'm thinking of showcasing the mermaid with the diy glaze but after the blotting it didn't feel right.


But in the end I filled it all in ,working in sections glazing and blotting. When that was good and dry I went over the whole thing with a quick coat of the DIY Glaze and blotted it (all the while moving and twisting my hand to ensure a random finish).
 I was very satisfied with the Flood in helping create the DIY Glaze.
Boy, have I got some ideas for the Flood.
This is a pic of the wet glaze before I blotted that last time.

Here she is finished. After all was said and done, I coated the piece with clear wax 2 more times to create a durable finish and protect the paper image.


I love her. She's such a Coastal Bohemian.


With love and gratitude,

Michele


Find me partying here all week at these link parties with some great bloggers.

If you are in Myrtle Beach come on down and visit us at the Coastal Bohemian Studio or check us out on Facebook, Pinterest , Instagram, or  G+ .

30A Inspired Artist Trading Cards


"Michele Michael is a participant in the Amazon Services LLC Associates Program, an affiliate advertising program designed to provide a means for us to earn fees by linking to Amazon.com and affiliated sites.”
Here's  the thing about needing glasses to read.

You see what happens when I take pictures? 


 In the blurry pics above I was going to show you the bases that I cut from The Grayton Beer Company, 30A Beach Blonde Beer cardboard, six pack, carry case.
 I love the beer and I love the colors and images from the cardboard carry case so much I decided to make a series of 7 artist trading cards using the cardboard.These are titled "30A Seaside"
First I cut  2" x 3" bases for a standard Artist Trading Card . I chose the  parts of the cardboard that had the best images. Next I tor off a little piece of vintage music pages that I had stained . I simply applied a small piece of the music page to each of the cards. I did this using Mod Podge applied to the back of the music page.
Next I sponged on some blue paint around the edges. 


Next I sponged on some blue paint around the edges.  You can see that in this photo below. 
After that I added some sunshine rays in black permanent marker and that's when I saw these cute little smiley face stickers. They really added a bit of whimsy to the mini work of art . I could feel the build of the mixed media coming together.

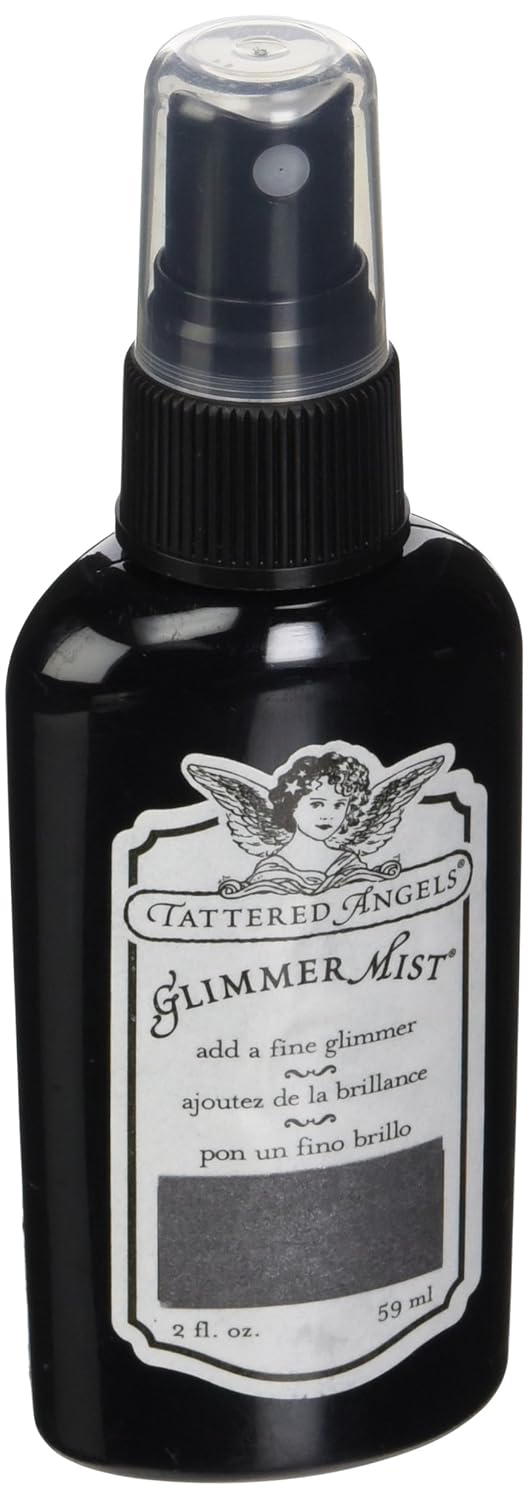
I laid out all the cards and did a quick mist of Glimmer Mist in Graphite. I needed to tone down the brightness of the cardboard a little bit more.  Yes that worked .
https://www.amazon.com/Tattered-Glimmer-2-Ounce-Graphite-Metallic/dp/B00161Q02O/ref=sr_1_1?ie=UTF8&qid=1530833792&sr=8-1&keywords=glimmer+mist+graphite


30 A is a beer named for the famous  30A strip of roadway in Florida's Panhandle that runs along some of the most beautiful seaside towns in the USA. So this project uses Seaside as it's theme. I cut some small banners and hand wrote the word Seaside and sprayed with  Glimmer Mist in  Carolina Blue .
 Then I used a glue stick to apply it to the piece. 
A little black ink helps to make the words pop and I'm feeling happy with this set of ATC's aka Artist Trading Cards. 


With love and gratitude,

Michele


Find me partying here all week at these link parties with some great bloggers.

If you are in Myrtle Beach come on down and visit us at the Coastal Bohemian Studio or check us out on Facebook, Pinterest , Instagram, or  G+ .
01 09 10