


1. Pirate/ Nautical -for me
2. Spells
3. Esoteric
4. Inspiration
So you see you can really make them to suit any mood or theme.
This project was inspired by a video at the Paper Outpost
https://www.youtube.com/watch?v=LFytHhLuSD0&t=177s
See my video here for the full tutorial.
Here's what you'll need .
1.Small thin box to create the spine /cover of the book. 2.Scrap paper- I used vintage music pages.
3. Glue gun
4. Themed Embellishments
5. Printed Inspirational Quotes or Printable Stamps

You'll start with a small box. Cut it open so it resembles a long travel journal shell.

Here's how it lays out and how to cut the side of the box to make the spine smaller.

I hope you are seeing that the side gets cut and glued back together as a smaller spine.


Cover the book cover with scrap paper . I used decoupage glue and sheet music pages.

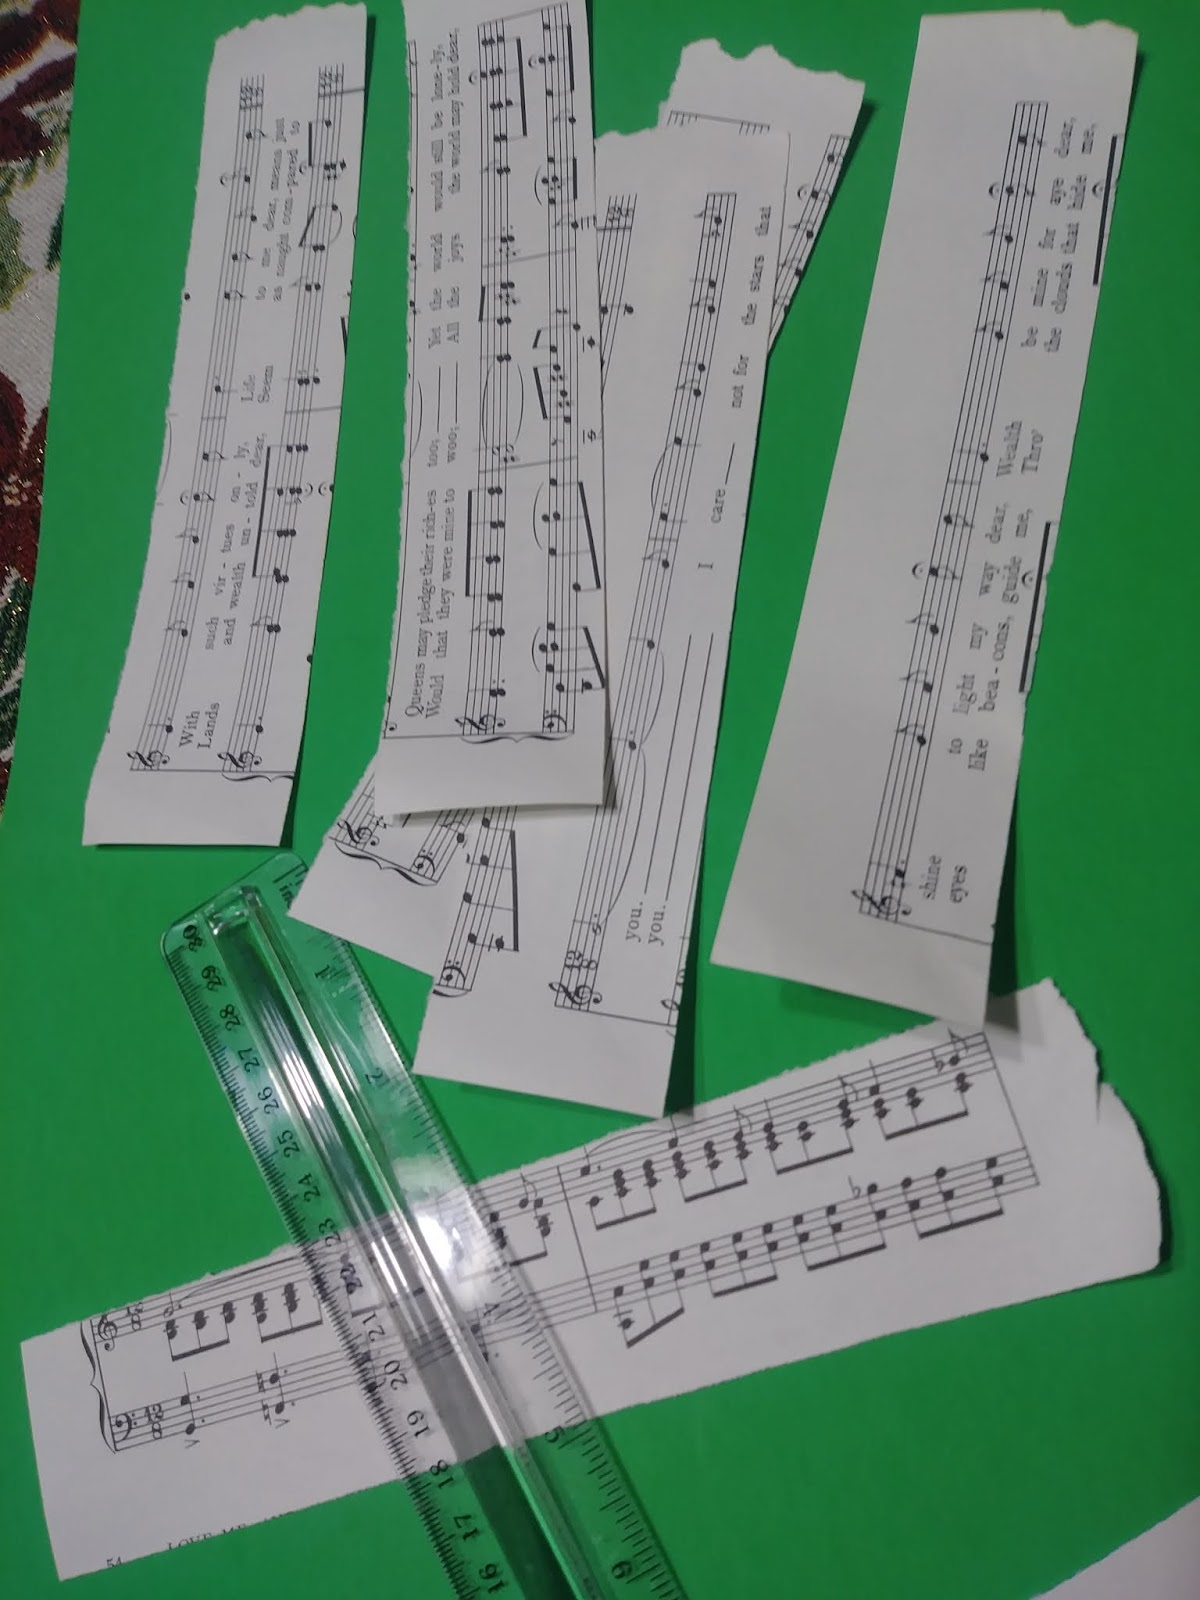
Next you'll cut strips from scrap paper to create the pages of the mini book. Measure the book height and take 1/4 " from that measurement and cut approx 8-10 strips of scrap paper for the book pages.


Next you'll fold the strip in an accordion style. Fold the accordion for the entire length of the strip. This will become your book pages. (Make sure to measure the width of your fold with the inside of the book) I like to fold the first end inside and make a sharp crease and then use that as my starting pt for folding.
The picture below show the starting crease .

Here's what it looks like when the entire length is folded.

Make sure it will fit inside the cover of the book.


Glue the back of the pages together to form a thick , sturdy page. Use a glue stick for this , it;s easy and quick.

Now you can glue one page to the inside cover and one to the back cover. I used a glue stick.

Then you can use a glue gun to attach the remainder of the book by sticking the glue gun behind the pages , along the spine and getting the hot glue in there. At this pt take an old credit card or a ruler and go inside each of the pages and push them into the hot glue.


Let dry.
I distressed my book with black archival ink and sponge .
Next add some decorative stamps or inspirational sayings to the pages. You can print these out here.

Decorate the front cover, the spine and the back cover. Add some stamping , some charms, some glitter, and a hook so you can hang it on the tree.


Happy Holidays.
Hope you enjoyed this bitty book ornament.
With love and gratitude,
Michele

Find me partying here all week, at these link parties, with some great bloggers.
If you are in Myrtle Beach come on down and visit us at the Coastal Bohemian Studio or Follow us out on Facebook, Pinterest , Instagram, Linkedin, or Bloglovin .
How cute are these? Thanks so much for linking up at #AThemedLinkup 7 for Christmas Trees and Ornaments. Shared.
ReplyDeleteThanks Dee.
DeleteI absolutely love these so much! I had done something a little similar years ago, but yours are even cuter! I'll be featuring this post Thursday at the TFT party. Thanks for sharing!
ReplyDeleteI have always wanted to know how to make these. Pinned of course so I can try it out. Thanks so much for linking up and sharing your post this week. It will be a feature at the next party. #HomeMattersParty
ReplyDeleteP.S. I'm featuring these at the TFT party today. Thanks again for sharing! :)
ReplyDelete