Showing posts with label Upcycled. Show all posts

Thursday, July 20, 2023

Vintage Lace Upcycle -Tie Dye Look


Move over friends . These are not your grannies stained old laces ANYMORE!  

I love the bold brights of these pretties.

So, I keep going through my stash to get myself cleaned out and more organized but inevitably there is just a new project because I can't just toss things. 
Here, I have a few stained vintage laces. Can I hide the stains with these dyes? Let's see.


In the pic you can see that I am getting ready to use those dyes and inks.


This was just a fun little experiment . I simply wet the lace and gently wrung it out. Next, I laid it out on my studio table and began to add various inks and dyes from my collection. Additionally , I used a mist bottle to spread the ink and lighten certain areas. I was able to spread ink by smushing, you know what I mean, smushing the fabric together to get the ink into other parts of the lace. Now, I do not know if this is washable. I do not know if it will bleed. I do know that I love it and plan to find a way to use this in my décor or artwork. 


Stains covered.


I hope you enjoyed.

Thursday, June 29, 2023

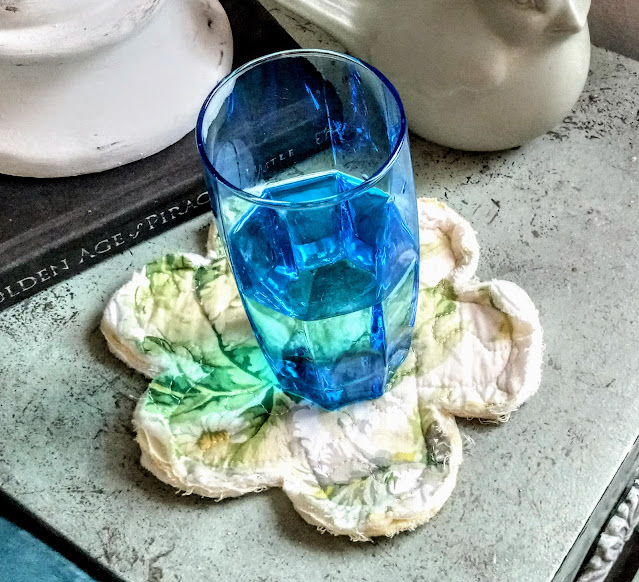
Shabby Upcycled Quilt Flower Coasters -Thrifting Bohemian #Upcycle #Quilts #Fabricart #Thrifting

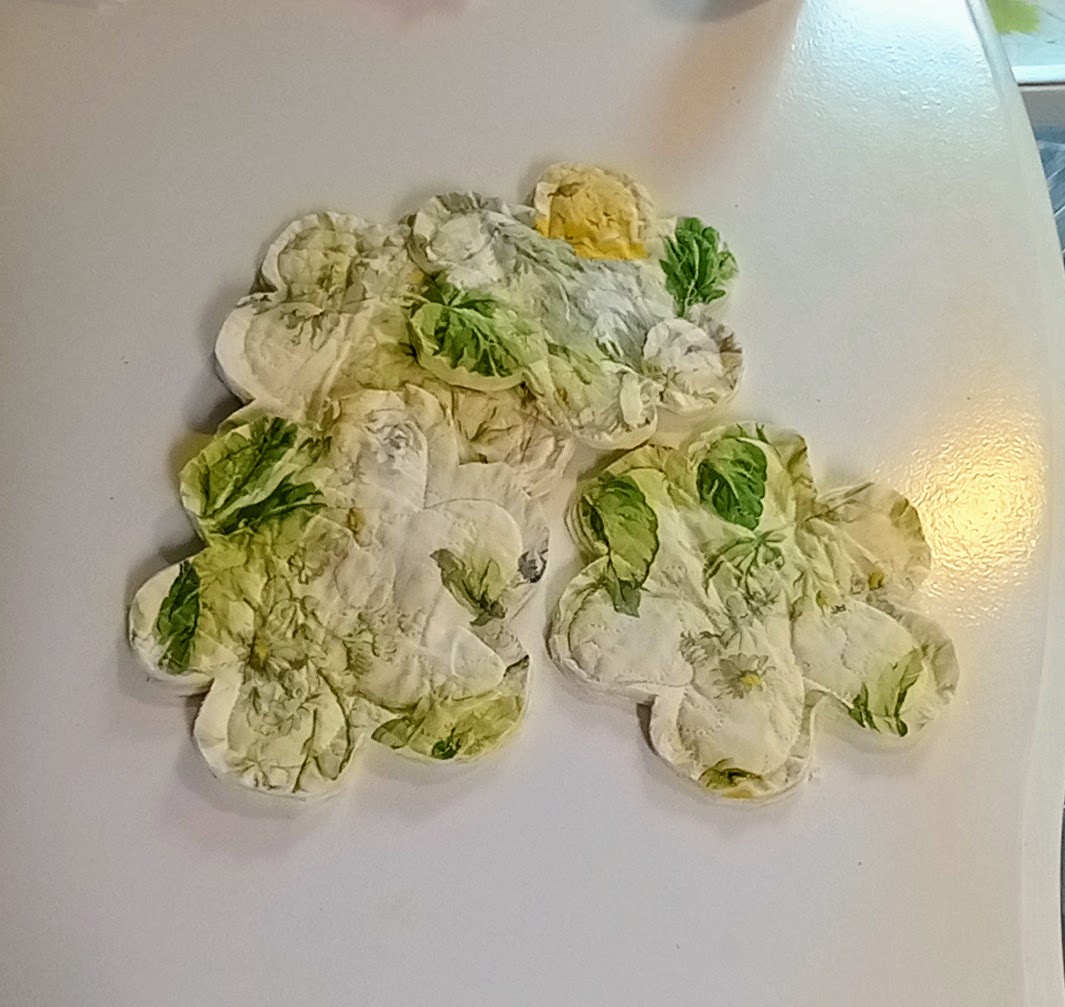
Let me show you how I used a king size quilted sham to make  shabby chic flower coasters for my home. 


This was a very satisfying project. One, because I thrifted the sham for only $1.00 at a thrift store, two, because these look so charming being used in the home  and three these are clearly one of a kind.

I drew, on cardboard, a basic flower shape in the size I wanted for these coasters. Then I cut out the shape to use as my template.


From there I traced my pattern onto the double thickness. (Yes, I used a pencil but these get washed to get a shabby edge, so it's perfectly fine.) Remember these need to be thick to withstand the heat.

Then cut and pin together to get ready for sewing.

I stitched a 5/8"seem edge around the entire flower leaving that edge raw for taking on some fray in the wash.
Stitched


And washed and frayed looking perfectly shabby.


Thanks for popping in to read along.


With love and gratitude,

Michele


Find me partying here all week, at these link parties, with some great bloggers.

Follow us out on Facebook, Pinterest , Instagram, Linkedin, or Bloglovin .

Tuesday, December 13, 2022

Packaging Box Upcycle


I love this idea and can't wait to use it more often. It is not my original idea. I watched someone on Youtube make one. It may have been #CanterburyCottage, #OurGreenAcres  or  #OurUpcycledLife. If I can credit them properly, I will get that updated here.

I had volunteered to bring a gift basket of all my home made goodies to a Christmas party. Looking around my stash I found this box and remembered I could paint it (video I saw). 


So I gave it a quick coat of chalk paint. Then I searched around for a piece of hardware to add to the front of the box. This is what really stuck with me. It really adds a little something different and I could use up some of my hardware stash. Hello I'm an upcycler. It's dangerous.
I put two holes in the box for the screws and attached the hardware and then secured it better with a layer of hot glue.

I lined the box with fabric from my stash. This is easy and doesn't have to be perfect. Cut a piece of fabric as long as the circumference of the box plus an inch or two more and as tall as the box plus at least 3-4 inches. Starting in a corner fold down a hem and adhere it to the top corner.
Now line the top of the box with a few inches of glue and continue adhering the clean finished edge, (folded hem), around until the box is lined. 
Cut a piece of cardboard to fit inside the bottom of the box. Now cover that with fabric. It's easy to do this by using hot glue.
Lay that inside the box . This pulls all the fabric from the sides and makes them looked more finished.
Once you do this, the lining is complete. 
I added a shabby bow.


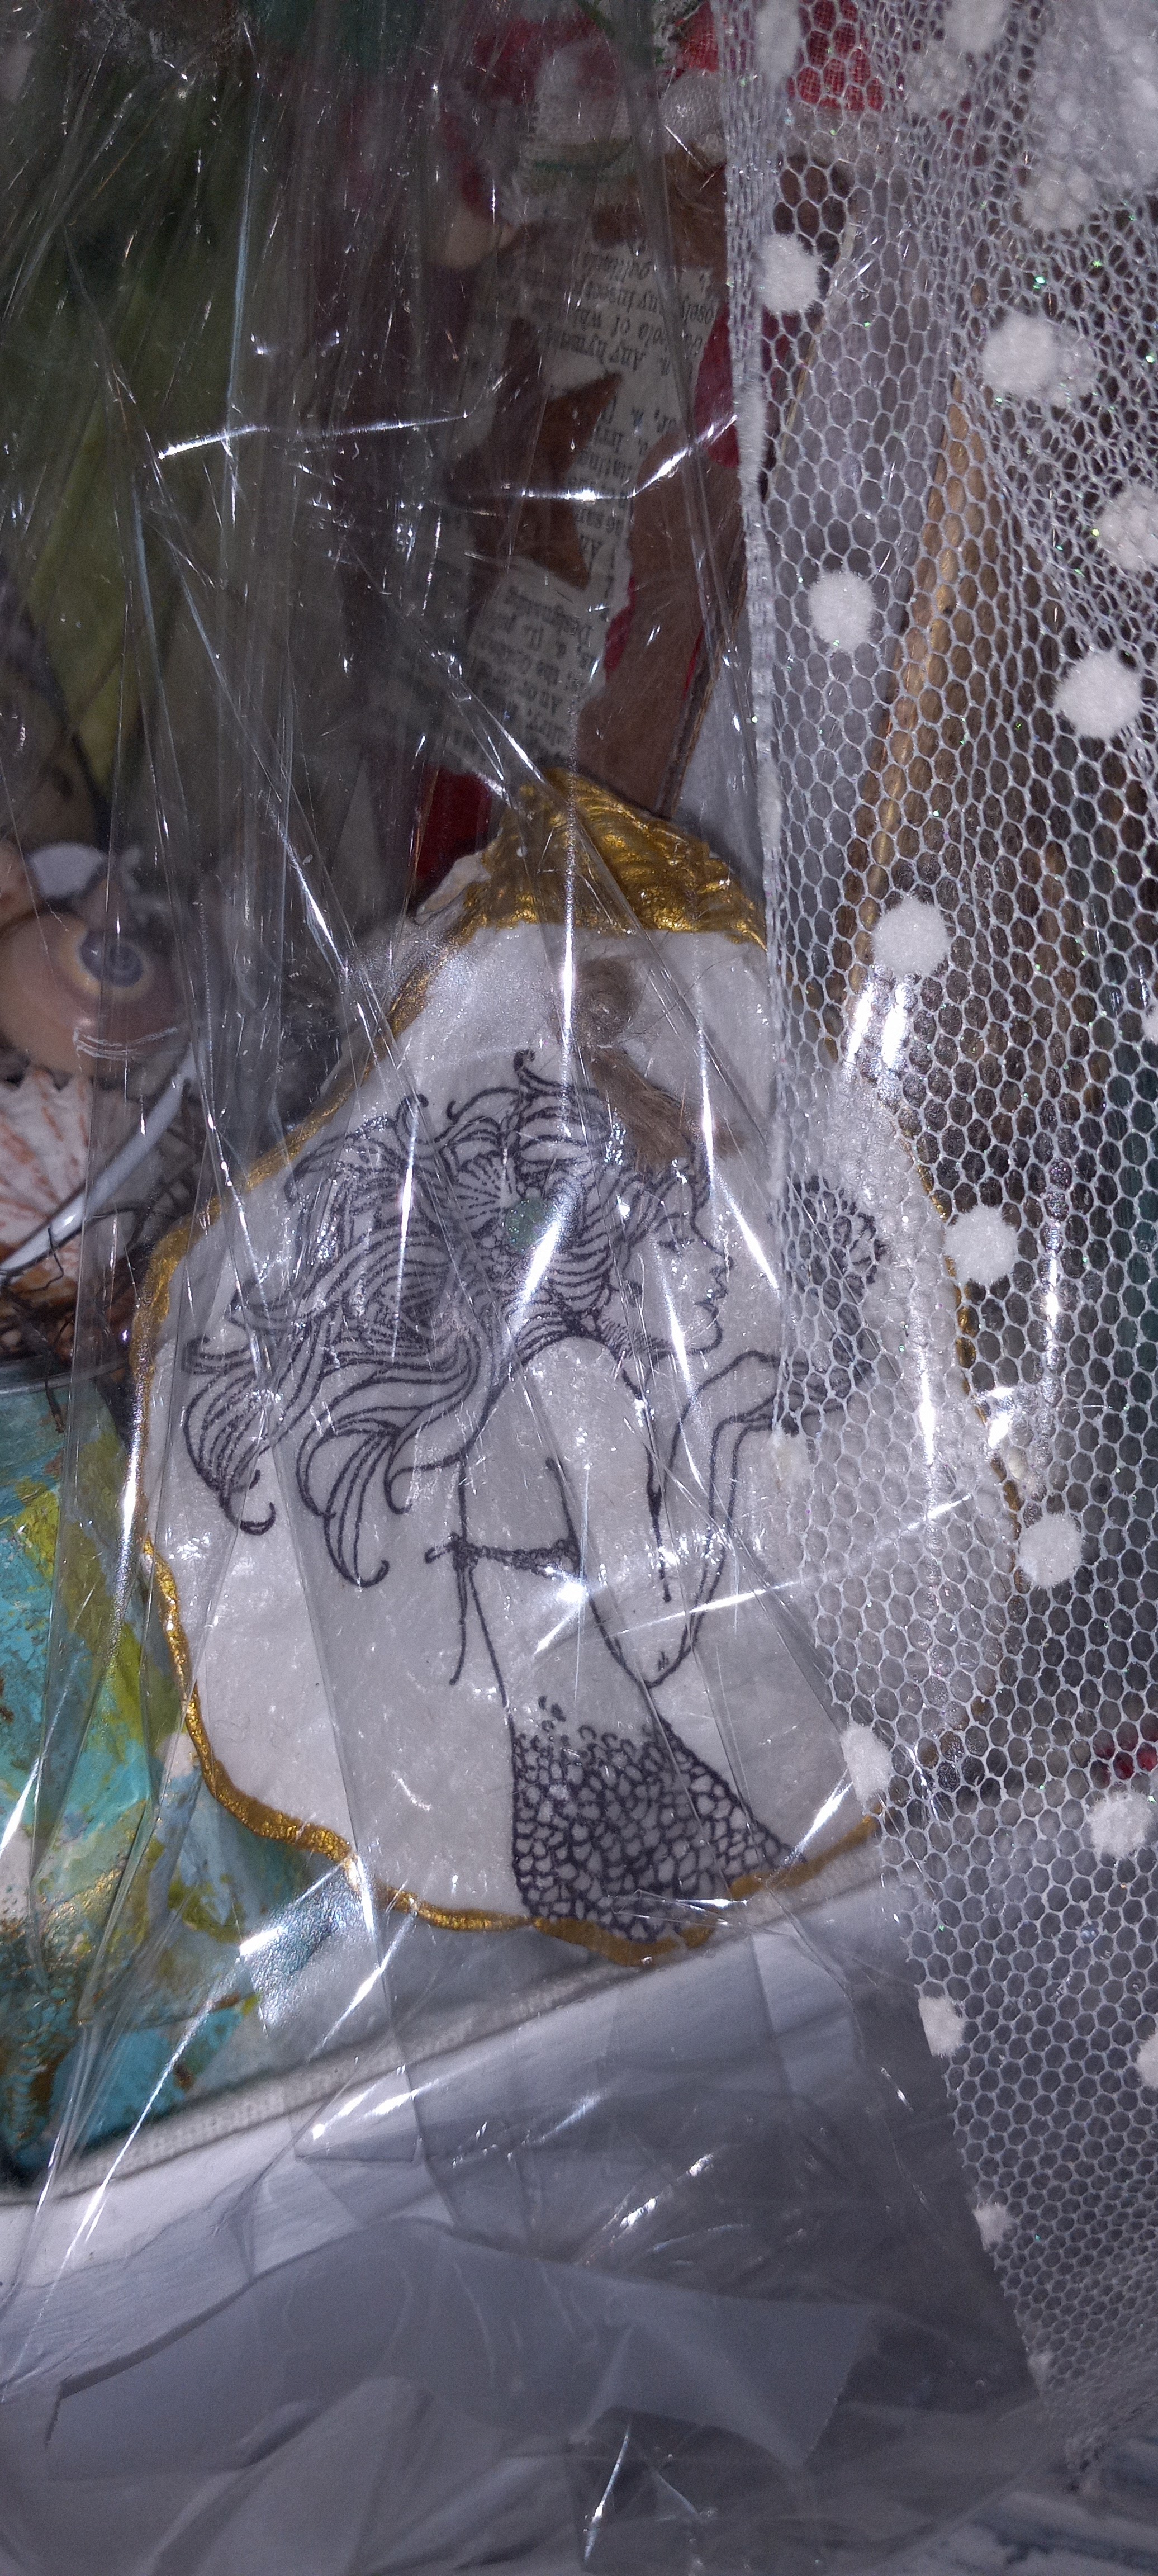
And then stuffed it full of creative gifts. Mostly with a Coastal theme.
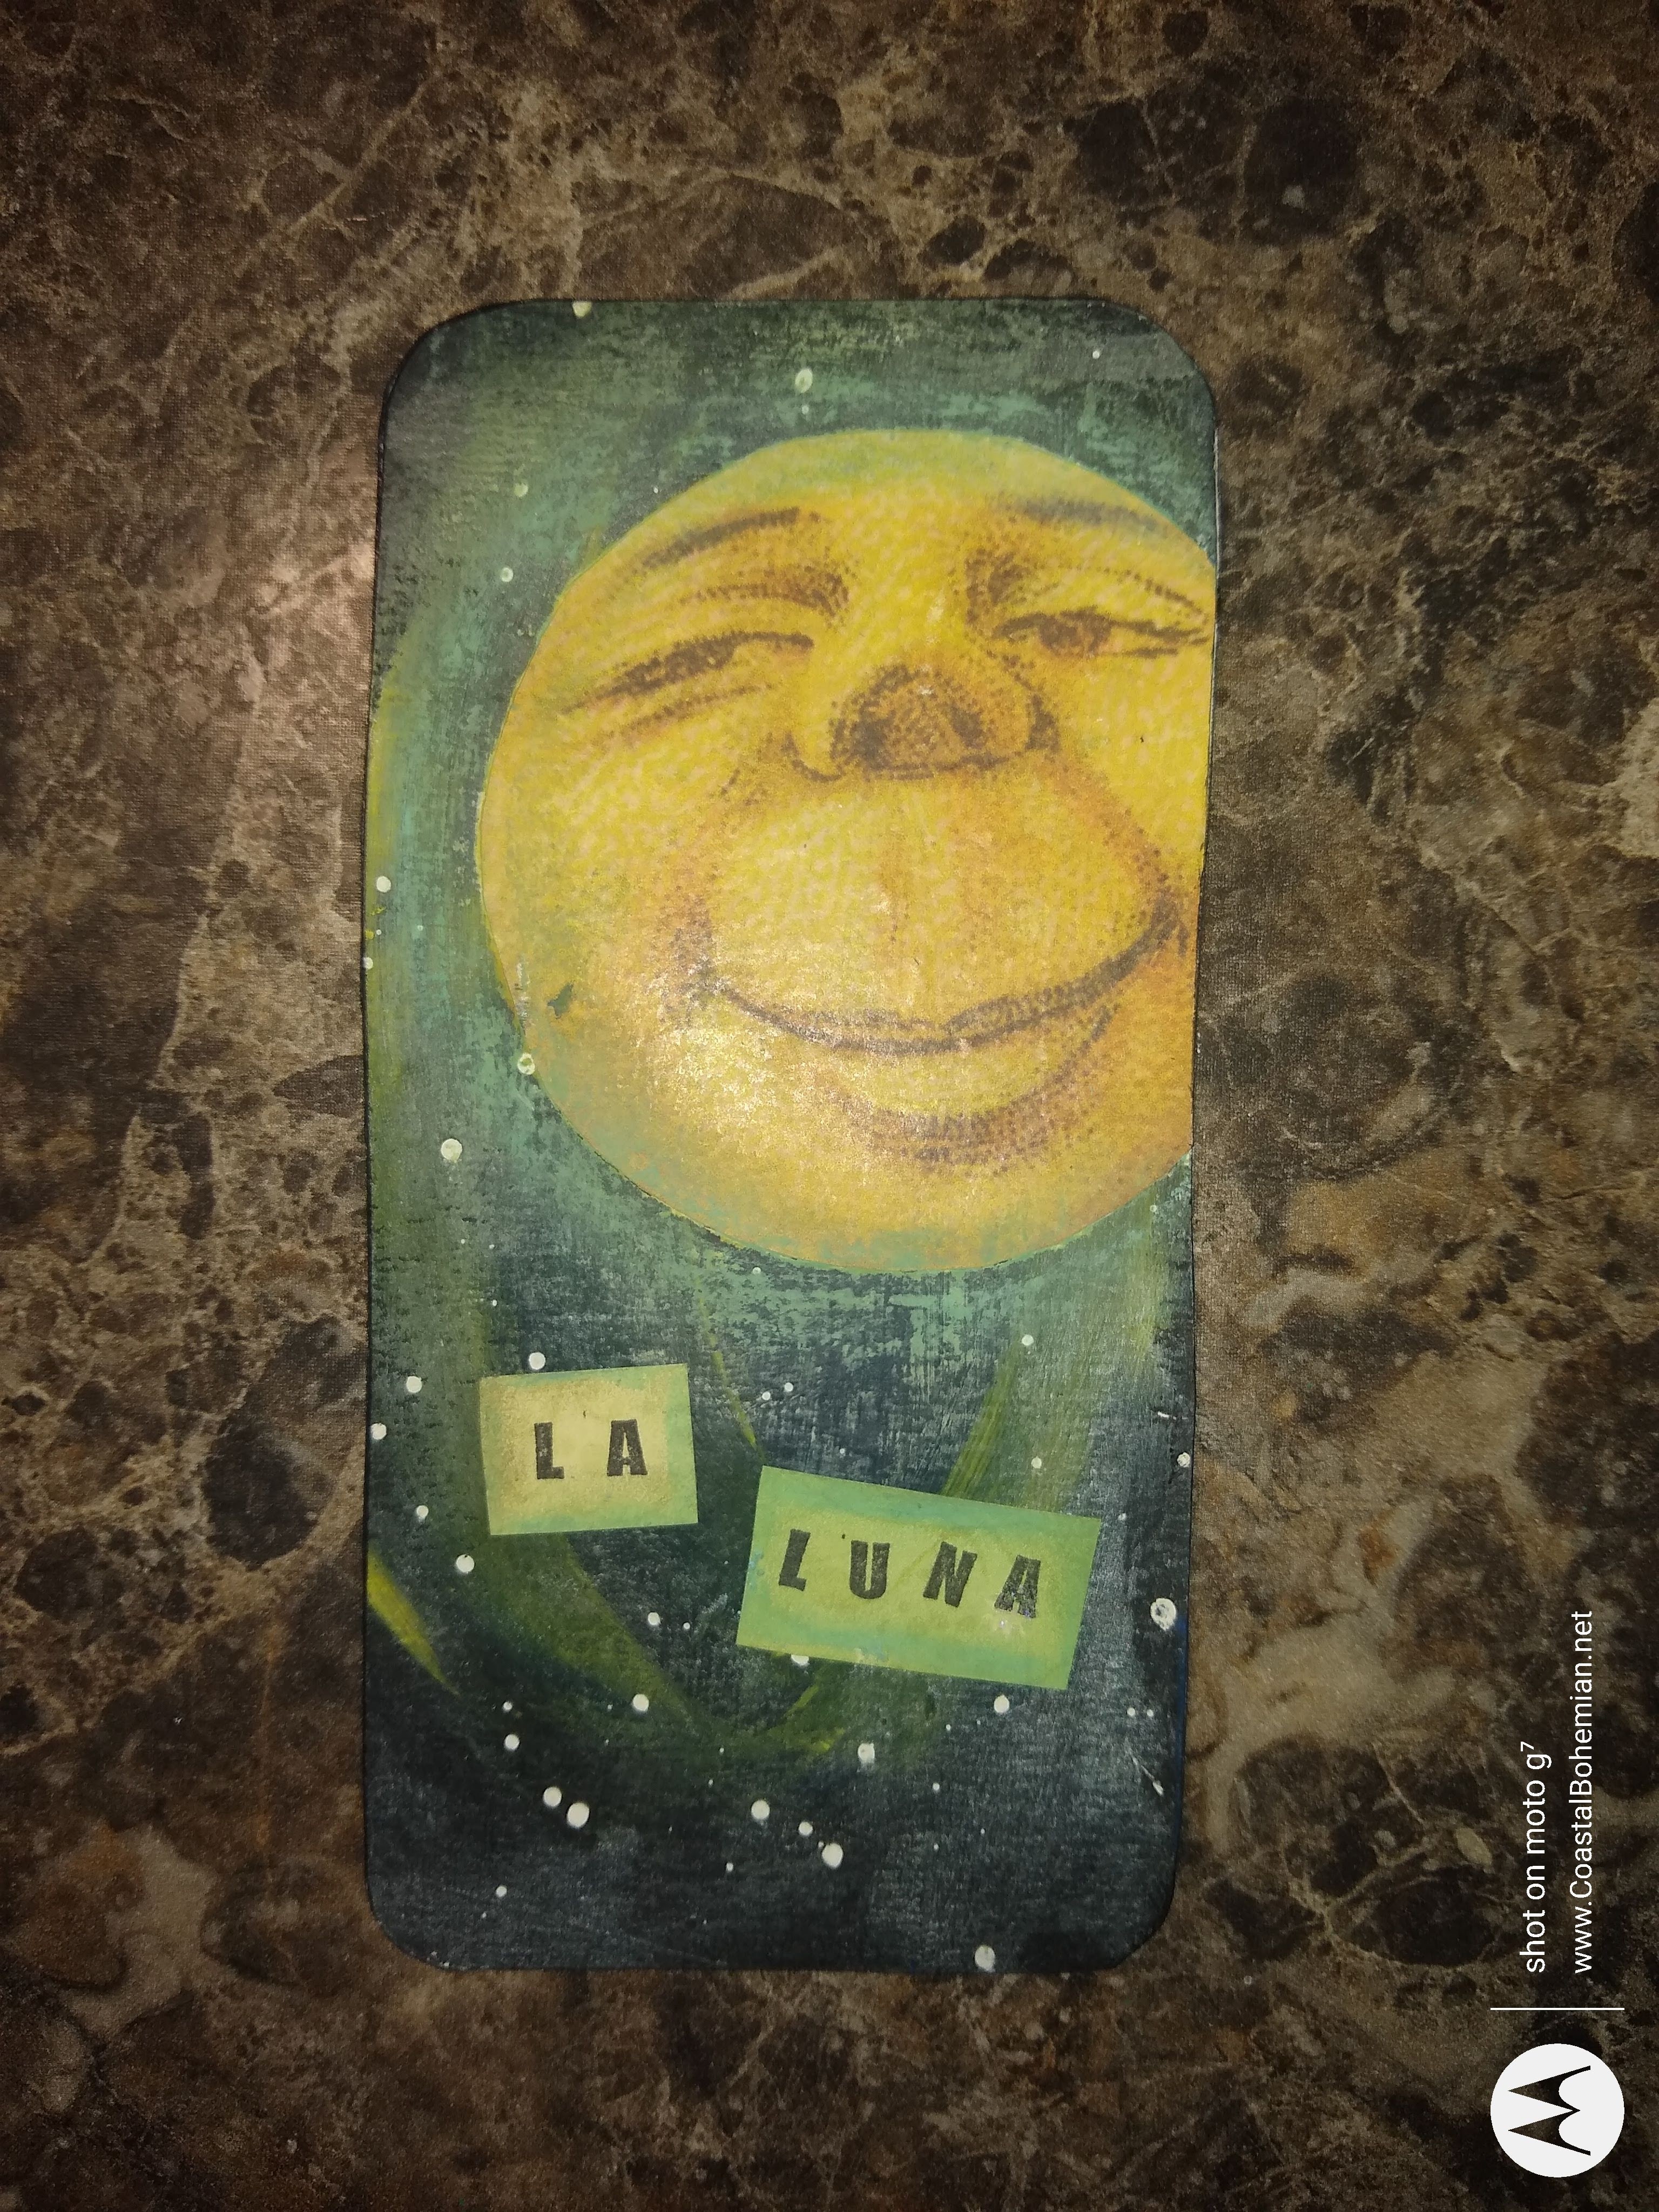
 A mermaid ornament , a mermaid oyster shell, a seashorse switch plate, a vintage moon mixed media bookmark  a gift tag amixed media tag , a Christmas door hanger 


Just a little holiday fun. Hope you found some inspiration. 

With love and gratitude,

Michele


Find me partying here all week, at these link parties, with some great bloggers.

Follow us out on Facebook, Pinterest , Instagram, Linkedin, or Bloglovin .
01 09 10