I caught a tutorial on Junk Journaling and thought "Well, now I can clean up some of my junk I've been keeping around the studio."
Gather up that broken jewelry, those findings you bought on sale at
Michael's, broken pieces of things you never repaired, keys, seashells, etc. and see how easy it is to create a one of a kind Junk Journal.
(I even used failed and over cooked clay tile pieces ,broken belts , fabric bows etc.) You'll see below in the video and the pics.
It's best to gather up more junk than you think. More than likely , however ,you won't use it all.
Here is what I gathered up for the event.

Get started by protecting the journal by adding newspaper or wax paper sheets inside the back and front covers to protect against paint and glue spills. This is a messy project.
Give your journal cover a quick coat of
Gesso.
After that dries you can start assembling pieces randomly.
Try to start with some of your flatter items that will help add some character to your background. Using your hottest glue gun, start gluing the items to the base/cover and continue to layer and layer and layer.
I was trying to make that heart work but in the end it didn't make it to the finals.
Trim everything down that is hanging over the edges
This was my final assembly before I covered it in
Gesso.
Crazy right? Now it's time to coat the whole thing in Gesso. Using a brush, just put a generous coating over the entire assemblage , making sure to hit all the little nooks and crannies. Afterwards, I sprayed with
Dylusions to get the blue and turquoise colors.
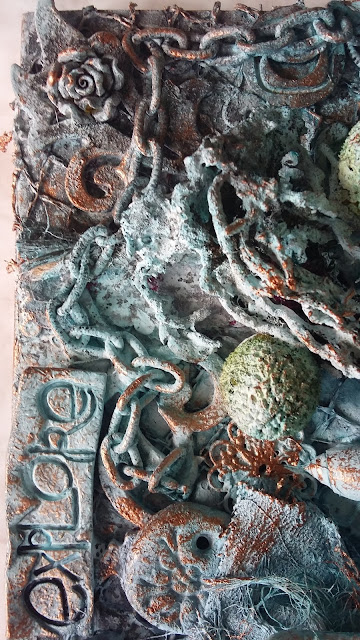
Next you'll want to dry brush with a bit of copper craft paint over the entire project. You could go gold or silver but I'm such a sucker for the copper.
In the end, I sprayed 2 coats of
flat clear coat to help everything stay protected.

Isn't she lovely, isn't she wonderful .....
Many thanks for taking time to read along.
Michele
Coastal Bohemian


